Have you ever wanted to learn how to mic a dobro, but weren’t sure where to start? Well, you’ve come to the right place! In this article, I’ll show you how to mic a dobro for professional sound quality and get the great sound you’ve always wanted. You’ll learn about the different types of microphones, the best locations to place them, and the specific techniques you should use for the best results. With a few simple steps, you can easily get the great sound you want from your dobro!
Choosing the Right Microphone
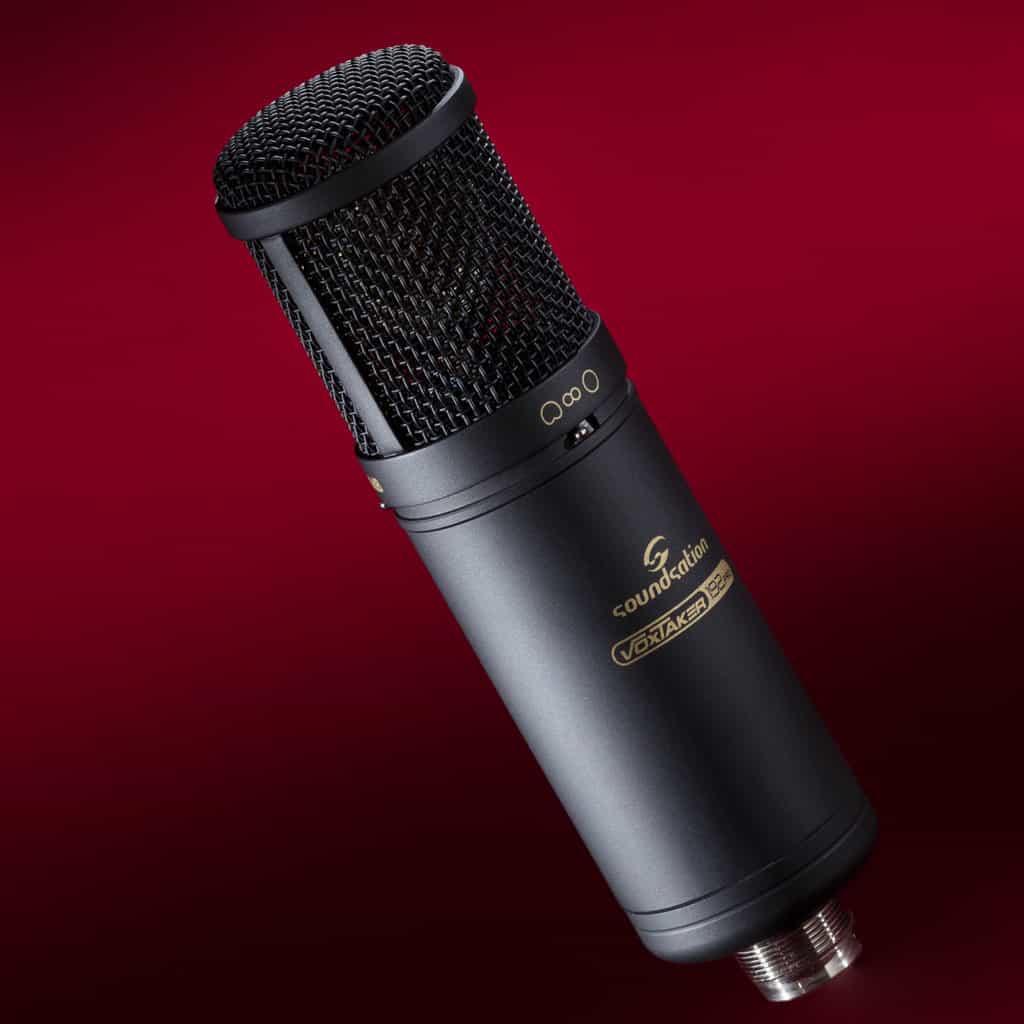
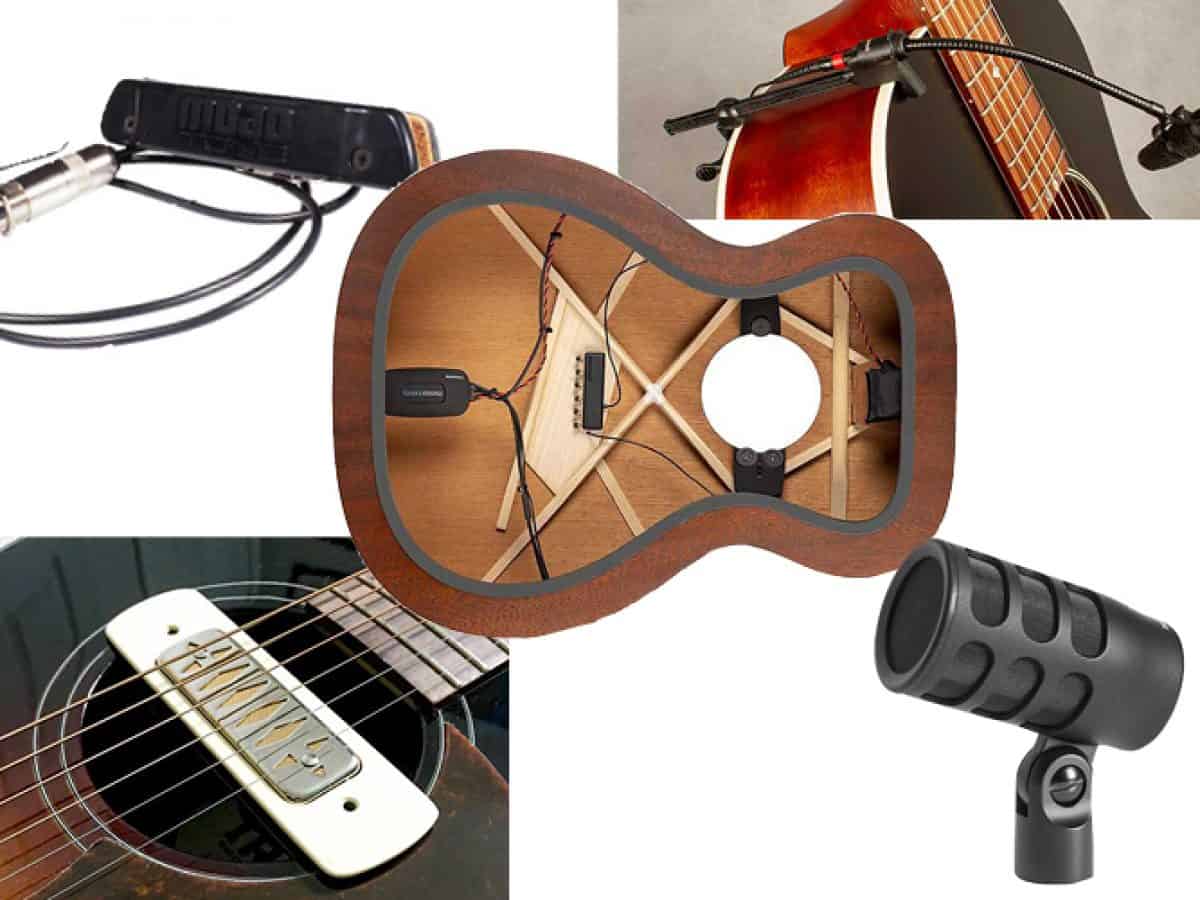
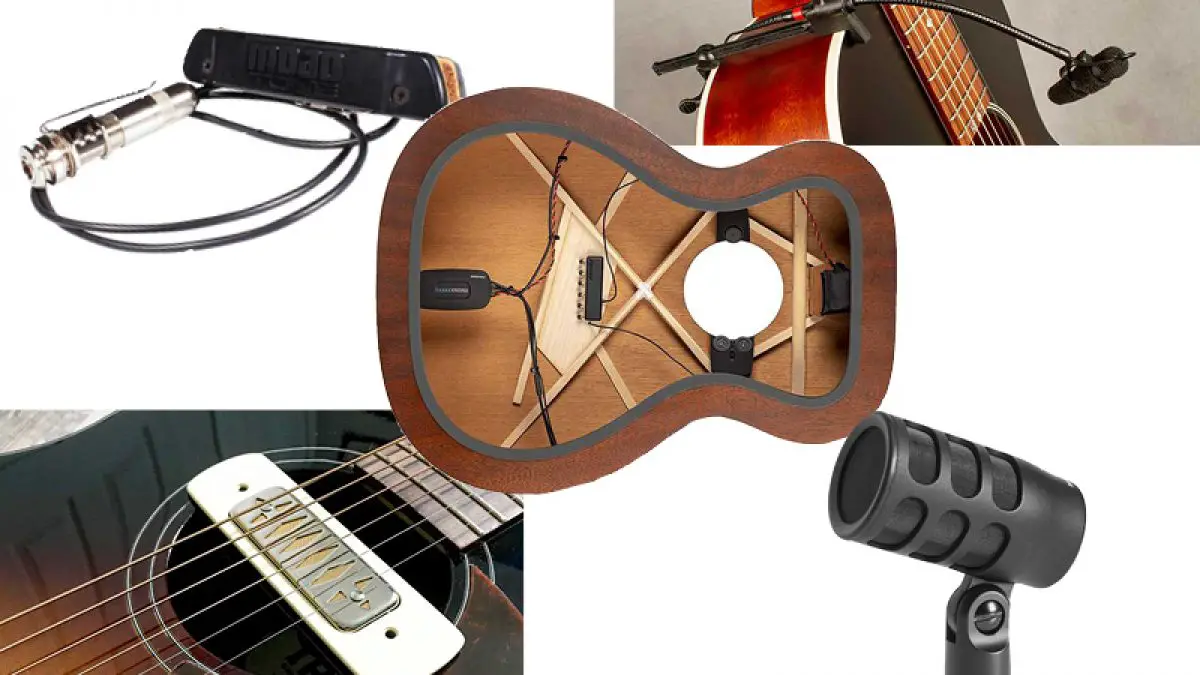
When miking a Dobro, the most important decision you will make is which type of microphone to use. Here are the most popular microphone types for Dobro, along with their advantages and disadvantages:
| Microphone Type | Advantages | Disadvantages |
|---|---|---|
| Dynamic | Reliable, durable, and cost-effective. | Not great for capturing subtle nuances. |
| Condenser | Highly detailed sound with a wide frequency response. | Requires phantom power and can be expensive. |
| Ribbon | Natural, warm sound with a wide frequency response. | Ribbon mics can be fragile and expensive. |
When selecting a microphone for Dobro, consider your budget, the sound you’re trying to achieve, and the type of live or recording environment you will be using the microphone in. If you’re recording in the studio, a condenser microphone is generally the best choice. If you’re recording live, a dynamic microphone is often the best option. A ribbon microphone is a great choice for both studio and live applications, as it provides a naturally warm sound.
Type of Microphone
- Dynamic Microphone
- Condenser Microphone
- Ribbon Microphone
Dynamic microphones are the most commonly used type for dobro. They are usually affordable and durable, making them ideal for performances. They are also less sensitive to loud noises and feedback. Condenser microphones are more sensitive than dynamic microphones and are better at picking up subtle nuances in the sound. They are often used in recording studios, but they can also be used in live performances. Ribbon microphones are more expensive than the other two types, but they are more sensitive and capture more of the dobro’s natural warmth and subtleties. They are often used in recording studios, but they can also be used in live performances.
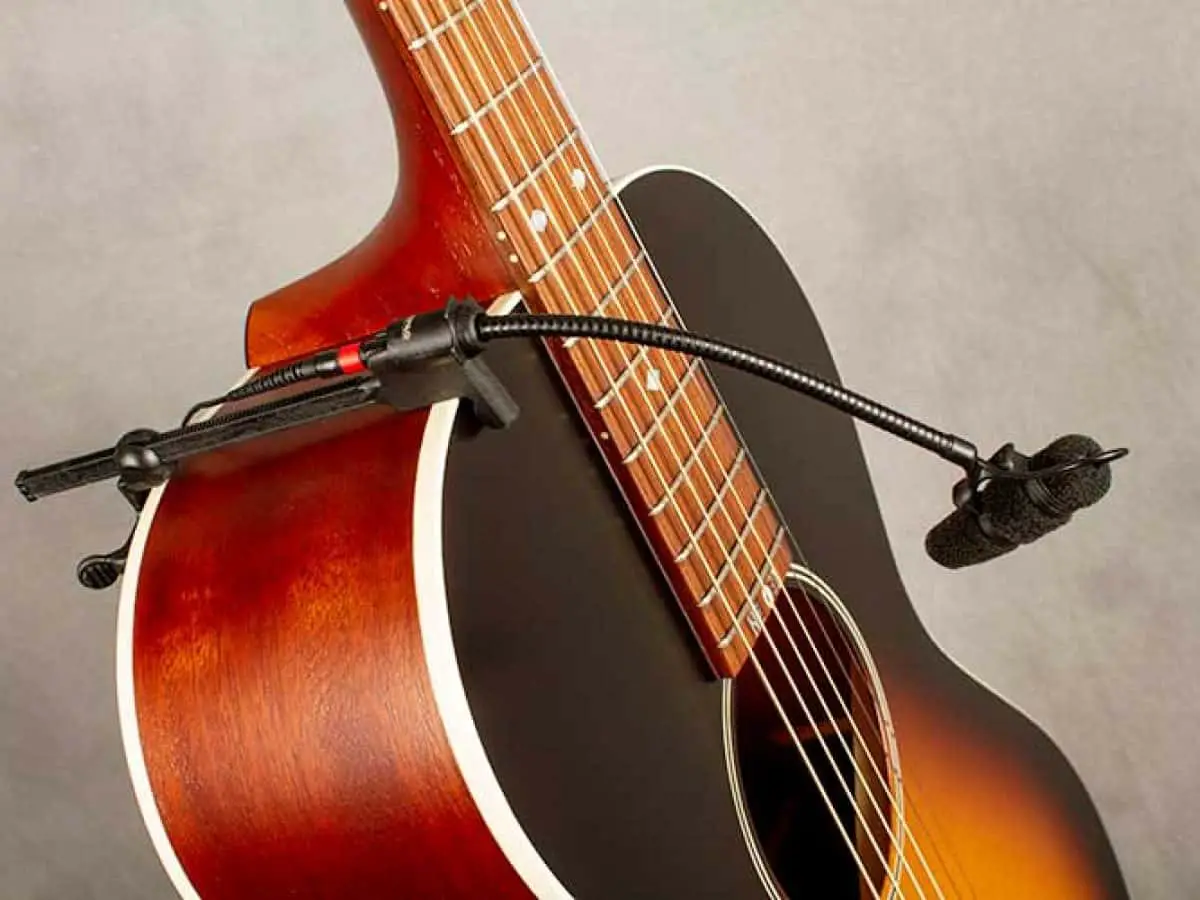
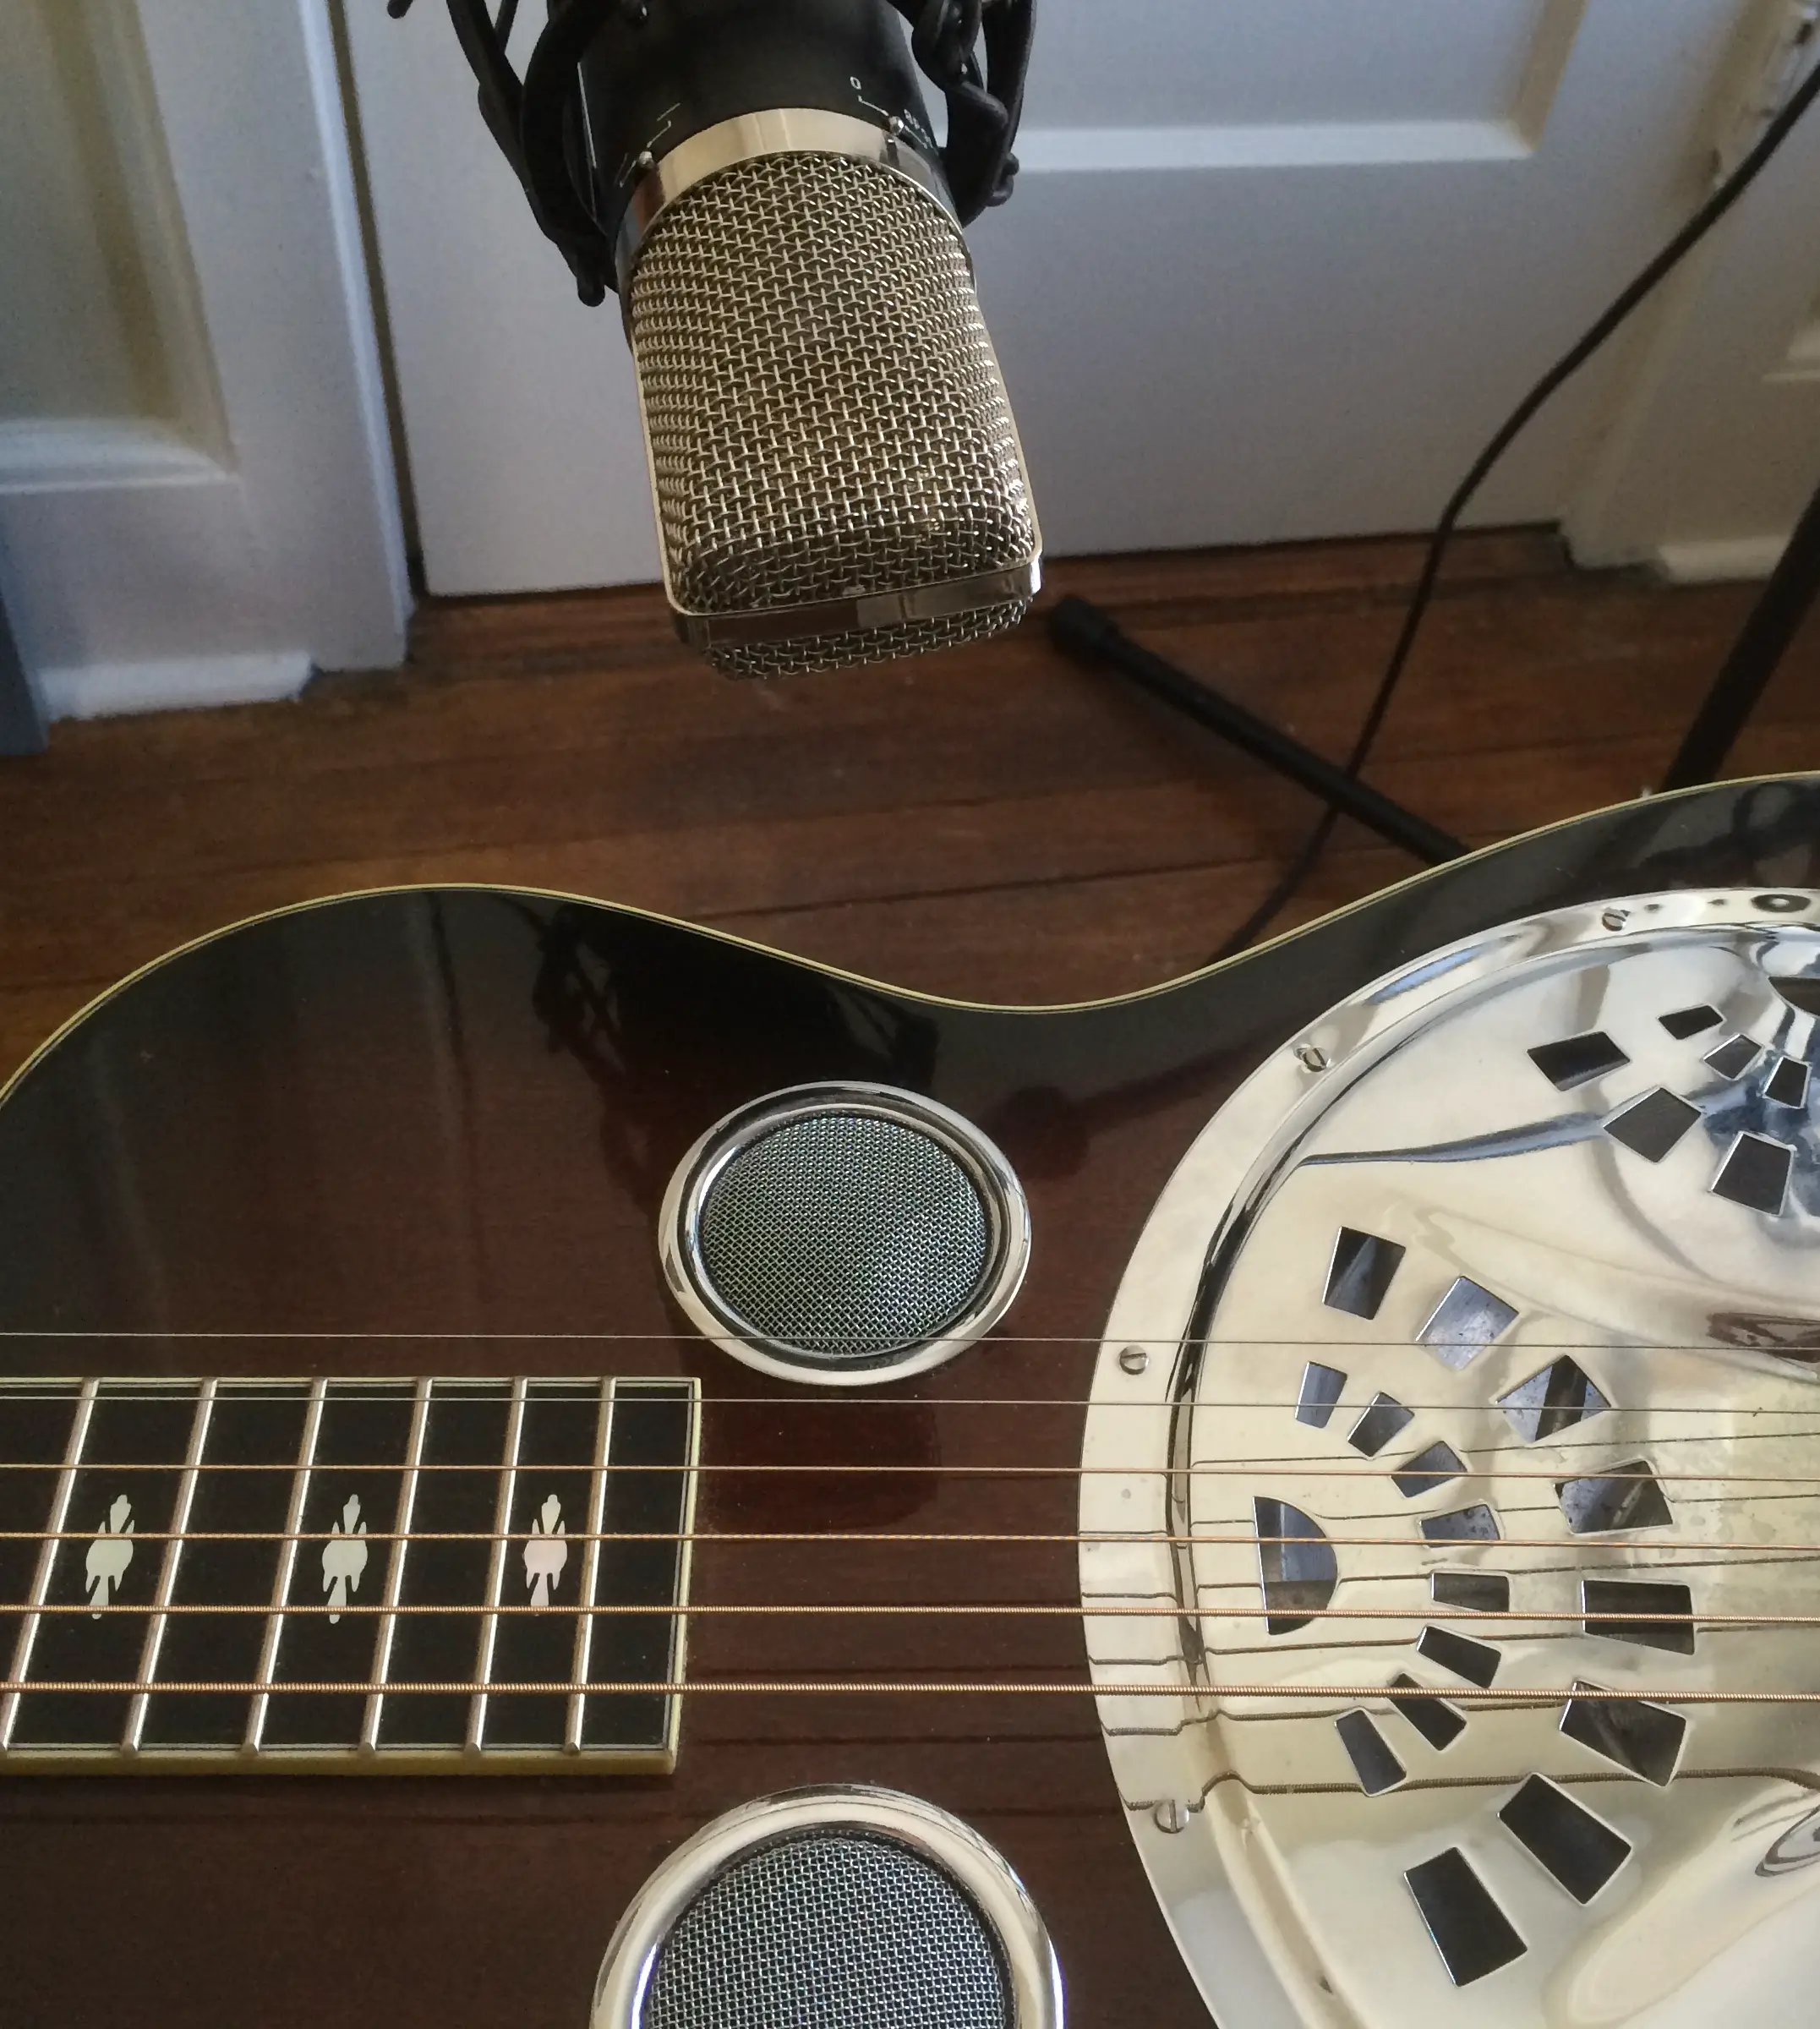
Placement
| Microphone Type | Placement | Purpose |
|---|---|---|
| Dynamic | Halfway between the soundhole and the bridge, aimed towards the 12th fret. | Capture the mid-range of the sound. |
| Condenser | Near the soundhole, but not directly over it, angled towards the 12th fret. | Capture the high-end of the sound. |
Dynamic mics should be placed halfway between the soundhole and bridge, aimed towards the 12th fret. This placement will capture the mid-range of the sound. For a condenser mic, it should be placed near the soundhole, but not directly over it, angled towards the 12th fret. This will capture the high-end of the sound.
Preparing the Room
- Choose a room with minimal reverberation.
- Hang acoustic foam or other sound-absorbing panels on the walls.
- Cover hard floors with rugs or mattresses.
- Close windows and doors.
- Place the Dobro in the center of the room.
- Position the microphone(s) close to the Dobro.
Controlling Room Acoustics
Acoustics in any room can greatly affect the sound of a dobro. To achieve a balanced sound, it is important to control the room’s acoustics. This can be done by using acoustic panels, or by placing certain objects in the room that can absorb sound.
| Solution | Benefits |
|---|---|
| Acoustic Panels | Absorbs sound waves and reduces reverberation time. |
| Furniture/Objects | Absorbs sound waves and provides a more balanced sound. |
Acoustic panels are a great way to control the acoustics of a room. These panels are designed to absorb sound waves and reduce reverberation time. This will help create a more balanced sound and reduce unwanted echoes.
Objects such as furniture and other items can also be used to absorb sound waves. Placing furniture and objects in the room can help create a more balanced sound and reduce the amount of sound waves bouncing off the walls.
By controlling the acoustics of the room, you will be able to achieve a balanced sound and get the best possible results when recording a dobro.
Reducing Sound Reflections
To reduce sound reflections inside the dobro, a few steps must be taken. To start, it’s important to deaden the soundboard by filling the inside of the dobro with sound-absorbing material such as foam or wool. This will help to reduce the sound reflections from the soundboard and will help to keep the sound from being too bright or overly resonant. Additionally, the use of acoustic foam wedges or acoustic blankets around the dobro can help to absorb any sound reflections from the walls or ceilings. This can be especially helpful if the dobro is being recorded in an untreated room or space. Finally, if the dobro is being recorded in a studio, the use of acoustic foam panels or diffusers can help to break up any sound reflections that may occur in the room.
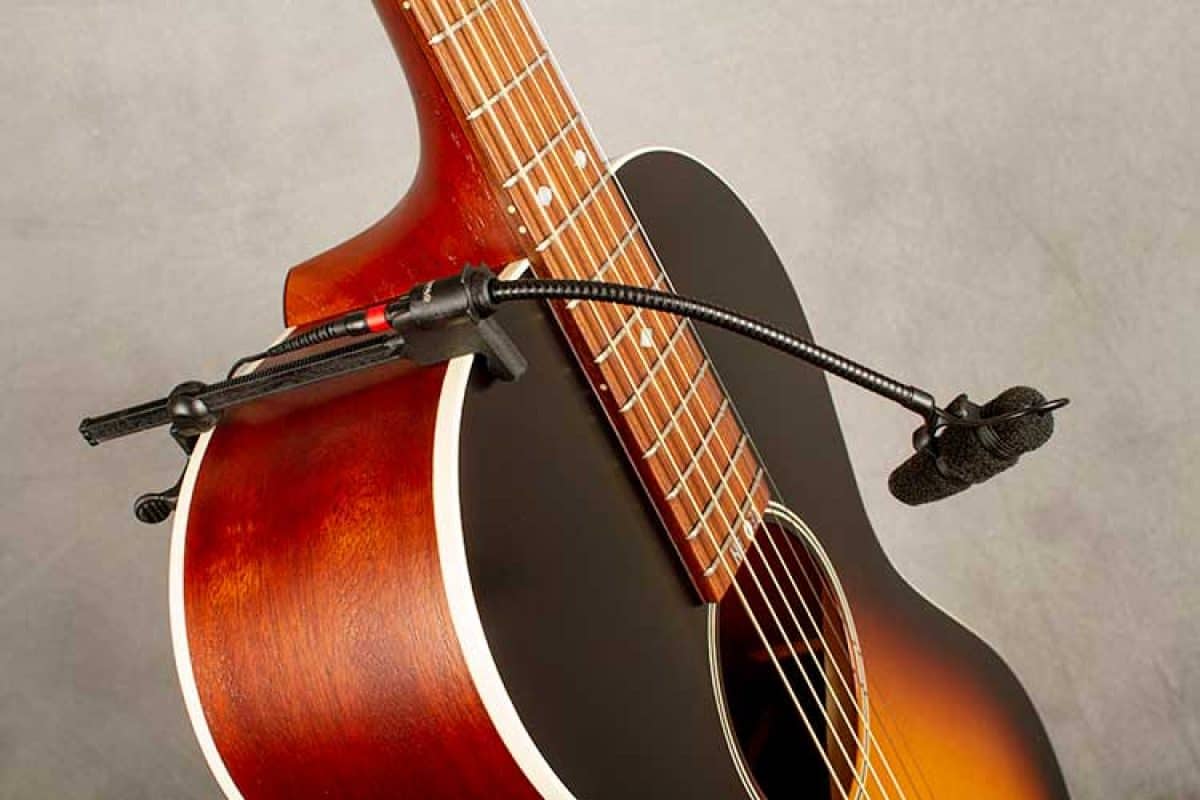
Connecting the Microphone
| Steps | Description |
|---|---|
| Step 1 | Secure the microphone onto the soundhole of the Dobro with a clip or holder. |
| Step 2 | Connect the microphone cable to the microphone. |
| Step 3 | Connect the other end of the cable to the audio interface. |
Setting Up the Mixer
To mic a dobro, you will need a mixer to make sure that the dobro is connected to the PA system. Start by plugging the dobro into the mixer. If the dobro has an active pickup, you can plug it directly into the mixer. If not, you will need to use an external microphone. Once the dobro is connected to the mixer, turn on the channel for the dobro and adjust the gain and EQ. Make sure the levels are set correctly so that the dobro is not too loud or too quiet. Finally, make sure that the mixer is connected to the PA system and you are ready to go.
Setting Up the Preamp
| Step | Action |
|---|---|
| 1 | Attach the preamp to the dobro. |
| 2 | Plug in the instrument cable from the dobro to the preamp. |
| 3 | Connect the preamp to the mixing board. |
| 4 | Adjust the gain, low-cut filters, and EQ settings on the preamp. |
| 5 | Set the level on the mixing board. |
Recording the Dobro
| Step | Explanation |
|---|---|
| 1 | Choose a microphone. Either a dynamic mic (SM57) or a condenser mic (U87) work well on a dobro. |
| 2 | Position the mic. Place the mic in front of the dobro, 1-2 feet away from the sound hole. If the mic is too close, it will pick up too much bass and if it’s too far away, the sound will be too thin. |
| 3 | Set the gain. Adjust the gain so that the signal is peaking at around -6dB, but not clipping. |
| 4 | Check the sound. Play the dobro and check the sound in the headphones. Adjust the mic position and gain until you get the desired sound. |
| 5 | Record the signal. Once you are satisfied with the sound, record the signal to your DAW. |
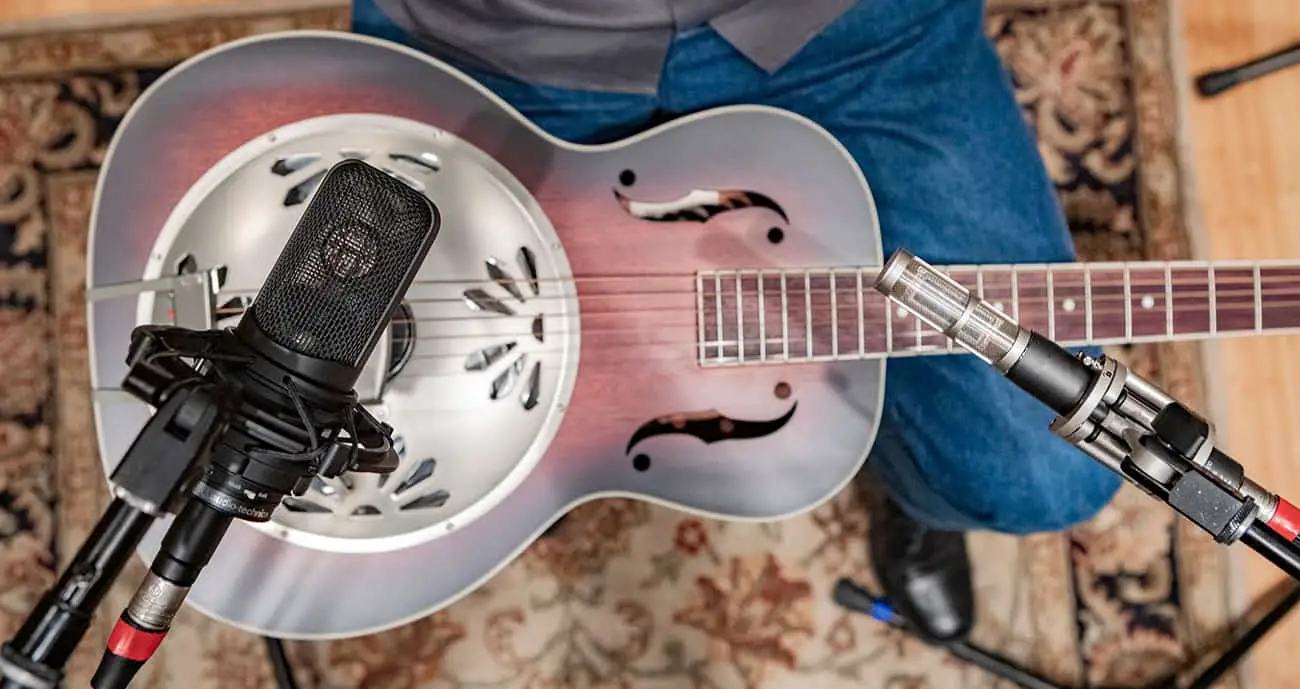
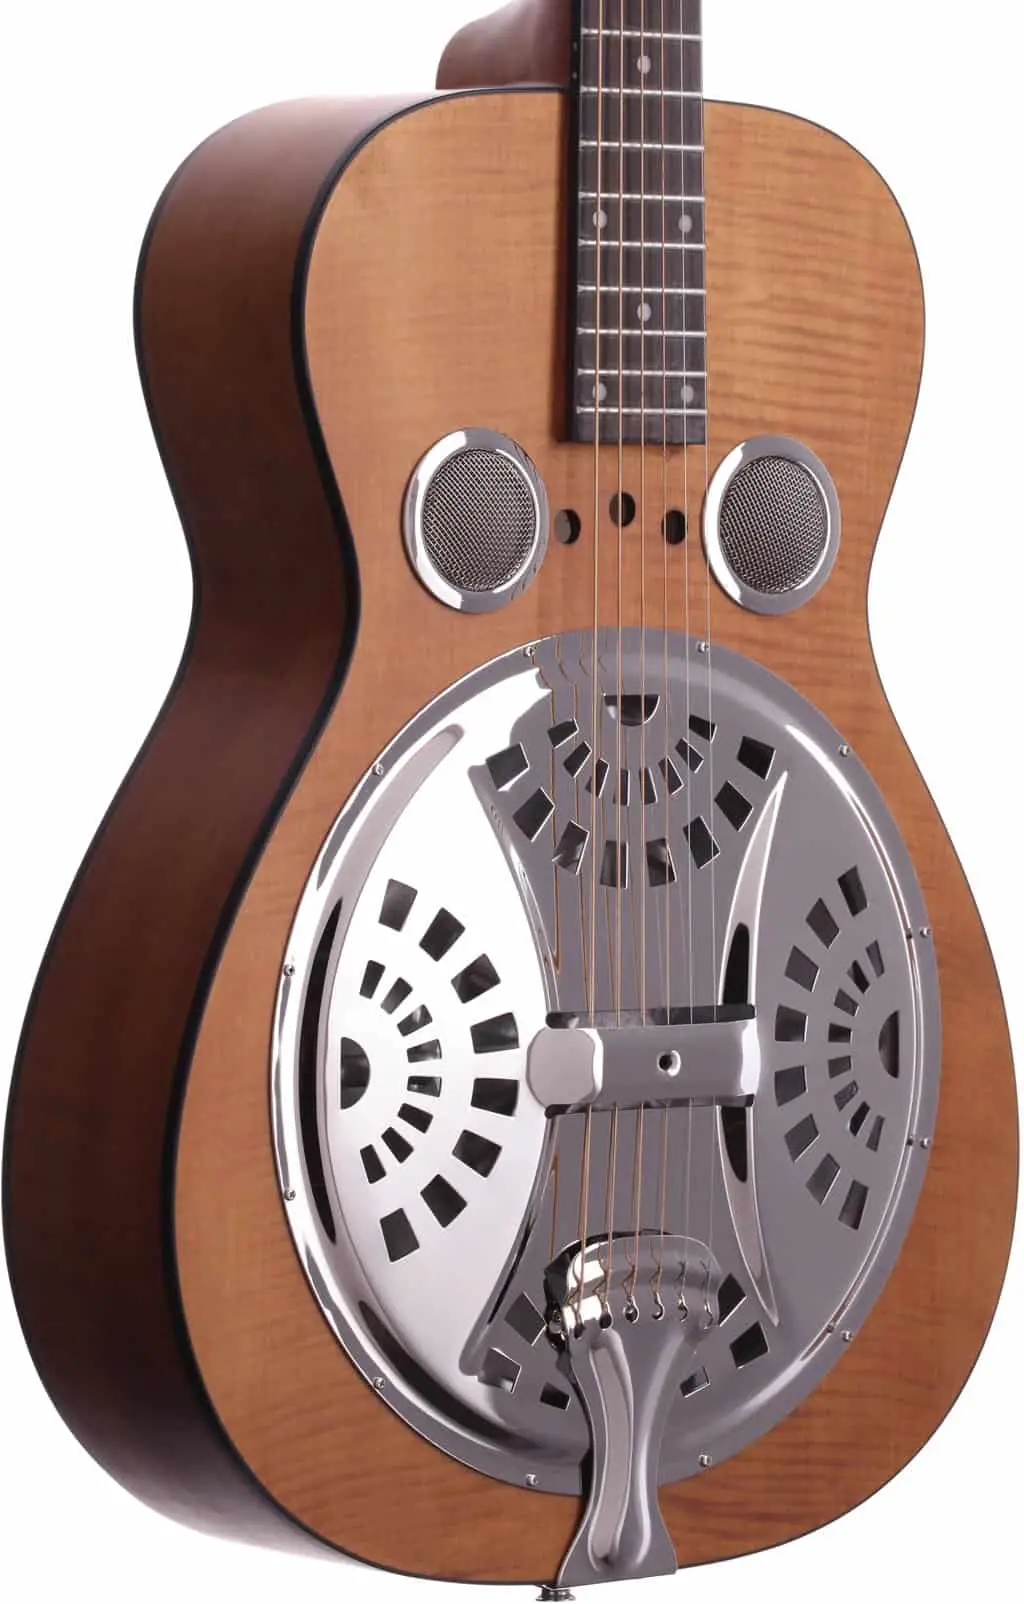
Finding the Right Spot
| Microphone | Position |
|---|---|
| Dynamic | Between 4 and 6 inches from the cone, angled slightly upwards |
| Condenser | Further away from the cone, up to 2 feet, angled slightly downwards |
The location of the microphone is key to capturing the best sound from a dobro. For a dynamic microphone, it should be positioned between 4 and 6 inches from the cone, and angled slightly upwards. For a condenser microphone, it should be further away from the cone, up to 2 feet, and angled slightly downwards. Experiment with different angles and distances to find the most pleasing sound.
Adjusting Gain
Gain adjustment is an important part of the mic’ing process. The gain control affects the signal level coming from the microphone, and it’s important to get the gain set correctly to avoid clipping or distortion. When adjusting the gain, you should be in a quiet environment and listen for any noise coming from the microphone. Start by setting the gain to the lowest setting on your preamp and slowly increase it until you hear the desired signal level. Make sure to adjust the gain accordingly if you’re using a compressor or other effects. Also, be sure to check the signal on your recording device to ensure the level is not too high. If the signal is too high, you may need to lower the gain or move the microphone further away from the source.
Post-Recording Processing
- EQ the recording to bring out the desired sound.
- Add compression to the recording to ensure a consistent level of volume.
- Add reverb to the recording to make it sound larger.
- Use panning to create a stereo image.
- Apply a limiter to the recording to prevent any distortion.
Editing
- Organize the recorded files in the DAW.
- Listen to the audio and compare it with the original sound.
- Cut off any unwanted sound or noise.
- Using a compressor to control the dynamic range.
- Equalize the track to balance the frequency.
- Use reverb or delay effect for adding ambiance.
- Mix the track to get the desired sound.
- Render the track and save it.
Mixing

- EQ the dobro track to taste. Cut out any unwanted frequencies or boost desired ones.
- Add compression to even out the dynamics of the dobro track.
- Use a reverb to add a nice ambience to the dobro.
- Mix the dobro track with other tracks in the song. Make sure it fits in the mix.
Common Mistakes
Not positioning the mic correctly – When mic’ing a dobro, the placement of the mic is essential in achieving the desired sound. It should be placed close to the soundhole, pointing directly at it. Placing the mic too far away or at an angle will result in a dull sound.
Not using the right type of mic – The best mic to use when mic’ing a dobro is a dynamic mic, such as a Shure SM57 or SM58. These mics are designed to capture sound at a close range, which is what is needed when mic’ing a dobro.
Not using a shock mount – Placing a shock mount between the mic and the dobro is essential in reducing noise and feedback from the instrument. Even the slightest vibration can cause unwanted noise, so a shock mount is essential for achieving the best sound.
Not using a pop filter – A pop filter should be used when mic’ing a dobro to reduce the amount of breath noise from the player. This will help to keep the sound clean and free from unwanted noise.
Not using a compressor – Using a compressor when mic’ing a dobro can help to even out the sound and reduce the amount of dynamic range. This will help to keep the sound consistent and free from peaks and valleys.
Not using a preamp – A preamp should be used when mic’ing a dobro to boost the signal and give it a fuller sound. This will help to bring out the best in the instrument and make it stand out in the mix.
Frequently Asked Questions
What type of microphone should be used to mic a Dobro?
A condenser microphone is usually recommended for Dobro recordings due to its sensitivity to capture the full frequency range of the instrument. It is best to position the microphone close to the strings to capture the full range of the instrument. A dynamic microphone can also work well, but will not capture the same nuances as a condenser. Alternatively, a ribbon microphone can also be used to capture the warm, low-end sound of the Dobro.
How do I position the microphone when micing a dobro?
Position the microphone slightly off-axis and at a 45-degree angle, roughly 8-12 inches away from the dobro’s soundhole. This will reduce any interference from the body of the instrument and its strings. Make sure to direct the microphone towards the soundhole and adjust the position as needed to find the best balance of sound. You can also experiment with other angles and distances for a different sound.
What are the Benefits of Micing a Dobro?
Micing a dobro has several benefits. It allows for more precise control over the sound and dynamics of the instrument, as well as providing a more natural sound than an amplified acoustic guitar. Micing a dobro also allows for greater flexibility in mixing and recording, as the mic can be placed in different positions to get different sounds. Additionally, a mic can be used to create a more layered sound, as multiple mics can be used at the same time. Finally, micing a dobro allows for greater control over the sound of the instrument when playing live.
What are the Best Practices for Micing a Dobro?
Positioning the microphone is key when micing a dobro. Place the microphone in front of the sound hole and slightly off axis. This will provide a nice balance of tone and volume. Using a cardioid pattern on the microphone will help minimize background noise. If possible, use a condenser microphone with a high pass filter to reduce low end frequencies. Experiment with the microphone placement to find the best balance of tone and volume. Consider using two microphones, one close mic and one room mic, to capture the full sound of the dobro.
How do I ensure a professional sound quality when micing a dobro?
Using a condenser microphone is recommended for a professional sound quality when micing a dobro. Place the microphone around 6-12 inches away from the sound hole of the dobro and make sure it is slightly angled towards the sound hole. Avoid micing the sound board directly and use a pop filter to prevent plosives. Use a high-quality preamp and adjust the EQ to refine the sound.
Conclusion
Getting professional sound quality from a dobro is easy with the right mic and technique. Positioning the mic correctly, in the correct pickup mode, and with the right balance of preamp gain and EQ will help you achieve the sound you’re looking for. Experimentation with different mics and techniques may be necessary to get the best results, but with a little patience and practice, you’ll be able to get the sound you want.