Acoustic guitars are a popular choice for musicians of all skill levels, from beginners to professionals. However, like any other musical instrument, they require regular maintenance and cleaning to keep them in good condition. Neglecting to clean your acoustic guitar can lead to a buildup of dirt, dust, and grime, which can affect the instrument’s tone, playability, and longevity. In this blog post, we will explore five cleaning techniques that will help you keep your acoustic guitar in top shape.
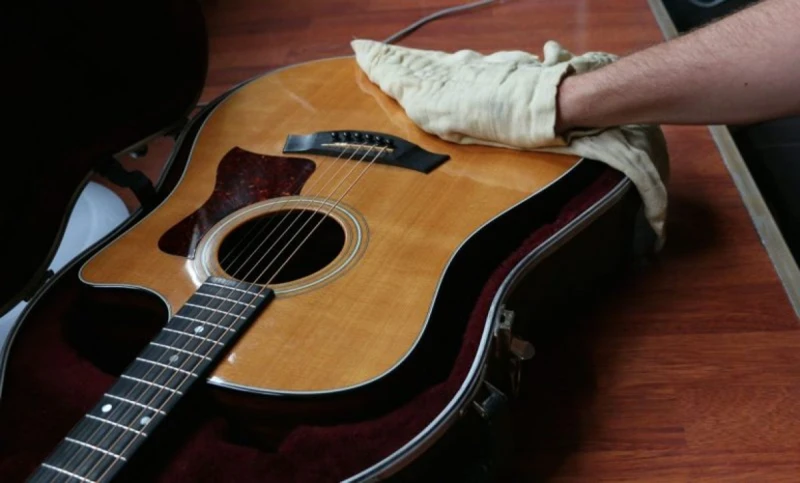
1. Dusting and Polishing

The first step in cleaning your acoustic guitar is to dust it thoroughly. Use a soft, lint-free cloth to wipe down the body, neck, and fretboard, removing any loose dirt or dust. Be sure to clean in the corners and crevices, as these areas can accumulate dirt over time.
Once you have dusted your guitar, you can polish it to restore its shine and luster. There are many guitar polishes available on the market, but a simple microfiber cloth and a small amount of distilled water can also do the trick. Avoid using household cleaners or abrasive materials, as these can damage the guitar’s finish.
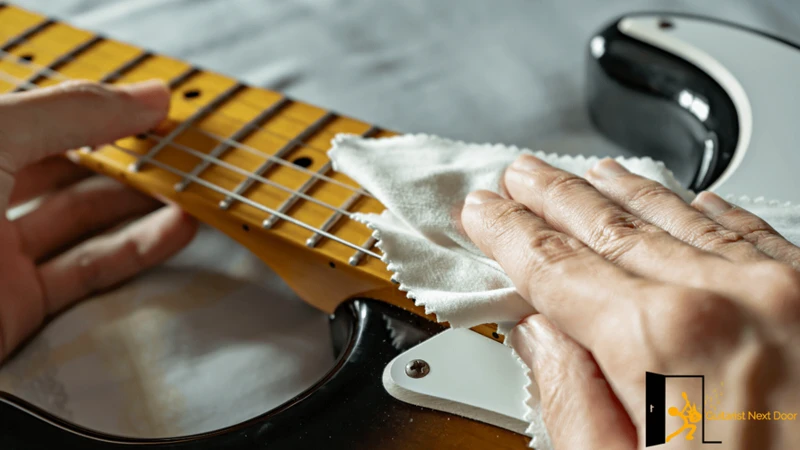
2. Cleaning the Fretboard
The fretboard is one of the most important parts of the guitar to clean, as it comes into contact with your fingers and can accumulate dirt, oil, and grime over time. To clean the fretboard, use a soft, damp cloth to wipe away any dirt or debris. For a more thorough cleaning, you can use a fretboard cleaning solution and a soft-bristled brush to scrub away any buildup. Be sure to avoid getting any cleaning solution on the guitar’s finish, as it can damage the wood.
3. Cleaning the Strings

Cleaning the strings is another important step in maintaining your acoustic guitar. Over time, strings can accumulate dirt, oil, and grime, which can affect their tone and longevity. To clean your strings, use a soft, damp cloth to wipe them down after each use. For a more thorough cleaning, you can use a string cleaning solution or a special string cleaning tool.
4. Cleaning the Hardware

The hardware on your acoustic guitar, such as the tuning pegs, bridge, and saddle, can also accumulate dirt and grime over time. To clean the hardware, use a soft, damp cloth to wipe away any dirt or debris. For more stubborn buildup, you can use a small amount of rubbing alcohol or a specialized guitar cleaning solution. Be sure to avoid getting any cleaning solution on the guitar’s finish, as it can damage the wood.
5. Deep Cleaning
If your acoustic guitar has not been cleaned in a while, or if it has significant buildup of dirt and grime, you may need to perform a deep clean. This involves disassembling the guitar and cleaning each part thoroughly. This is a more advanced cleaning technique and should only be performed by experienced guitar owners or professionals.
To deep clean your acoustic guitar, you will need to remove the strings, bridge pins, and any other removable parts. Use a soft, damp cloth to wipe down each part, and use a specialized guitar cleaning solution or rubbing alcohol to remove any stubborn buildup. Be sure to follow the manufacturer’s instructions and avoid using any abrasive materials, as these can damage the guitar’s finish or wood.
Looking to keep your acoustic guitar in top shape? Check out our articles on cleaning products for acoustic guitars, cleaning techniques for acoustic guitars, must-have accessories for acoustic country guitarists, best acoustic guitar cases, and the importance of cleaning your acoustic guitar for all the tips and information you need!
Conclusion
Cleaning your acoustic guitar is an essential part of maintaining its tone, playability, and longevity. By following these five cleaning techniques, you can keep your guitar in top shape and ensure that it provides you with years of enjoyment. Remember to dust and polish your guitar regularly, clean the fretboard, strings, and hardware, and perform a deep clean if necessary. With proper care and maintenance, your acoustic guitar will continue to sound and play its best for years to come.