The banjo is a stringed instrument with a rich history, originating in Africa and evolving in the United States. One unique feature of some banjos is the resonator, which projects the sound forward and gives the instrument its distinctive bright, twangy tone. In this article, we’ll explore how to make a banjo resonator, allowing you to customize your instrument and achieve your desired sound.
Understanding the Banjo Resonator
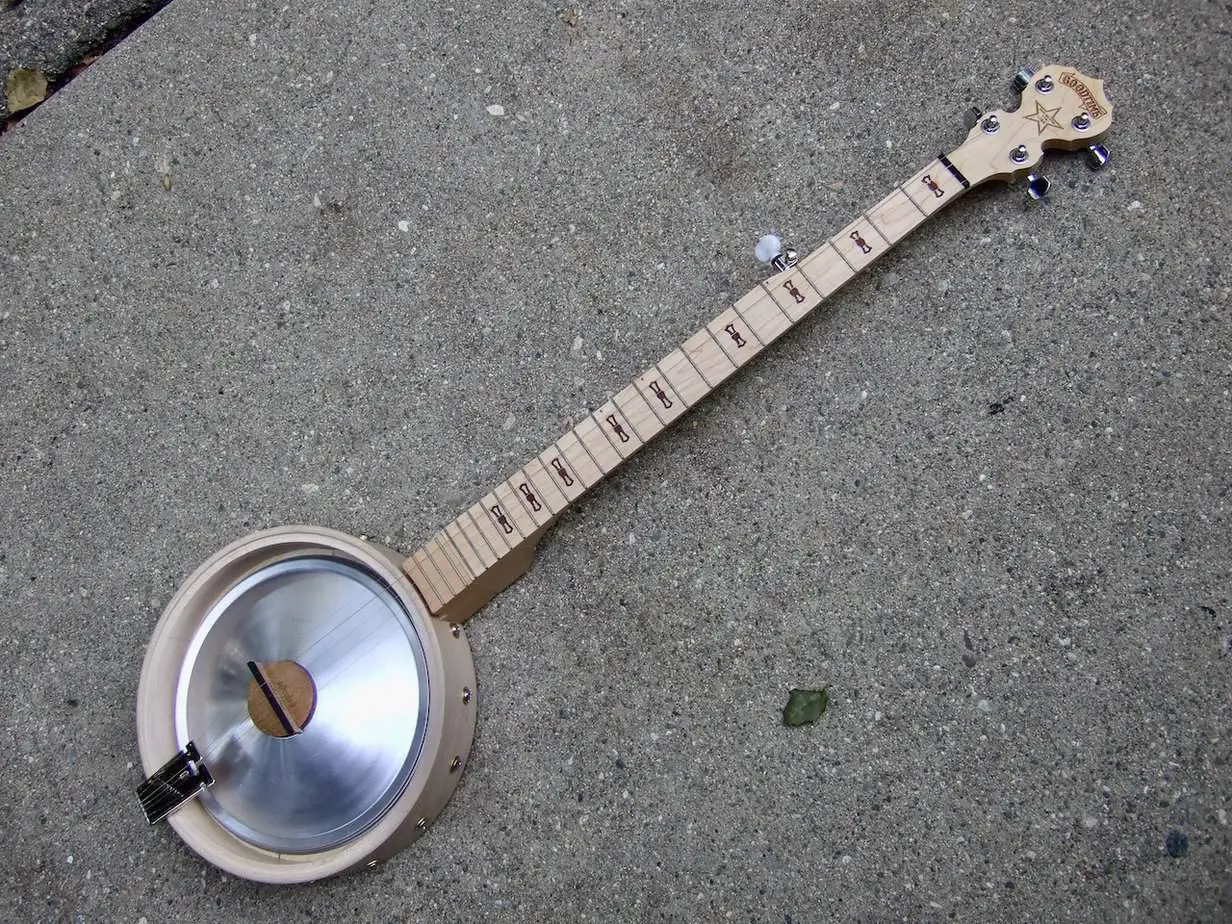
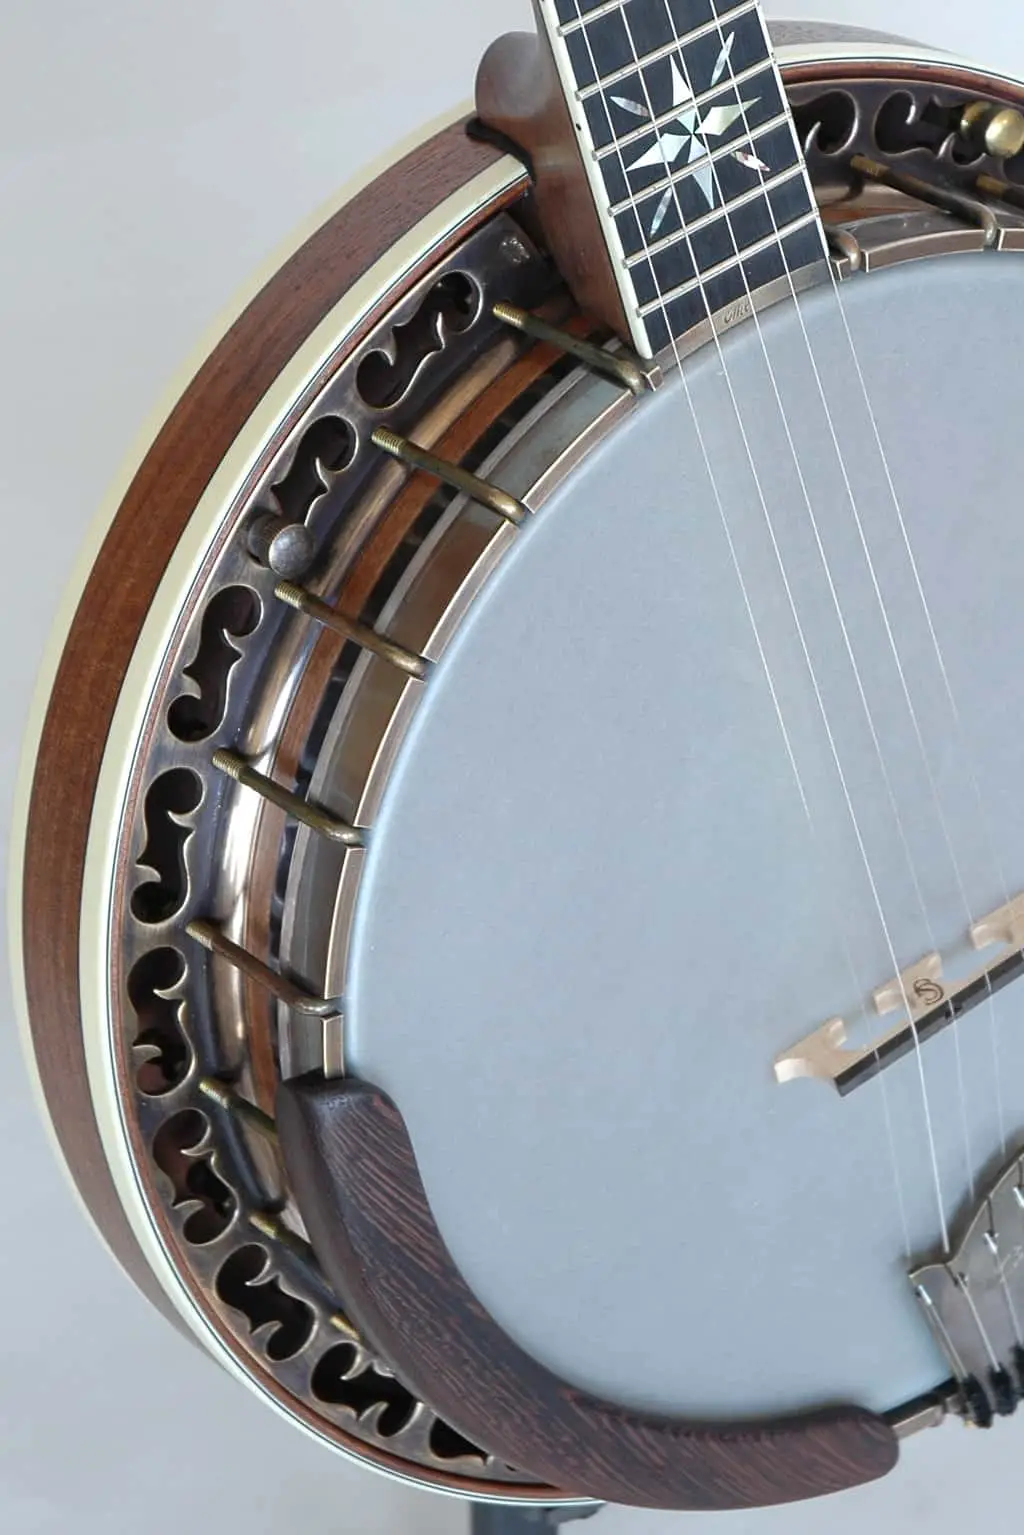
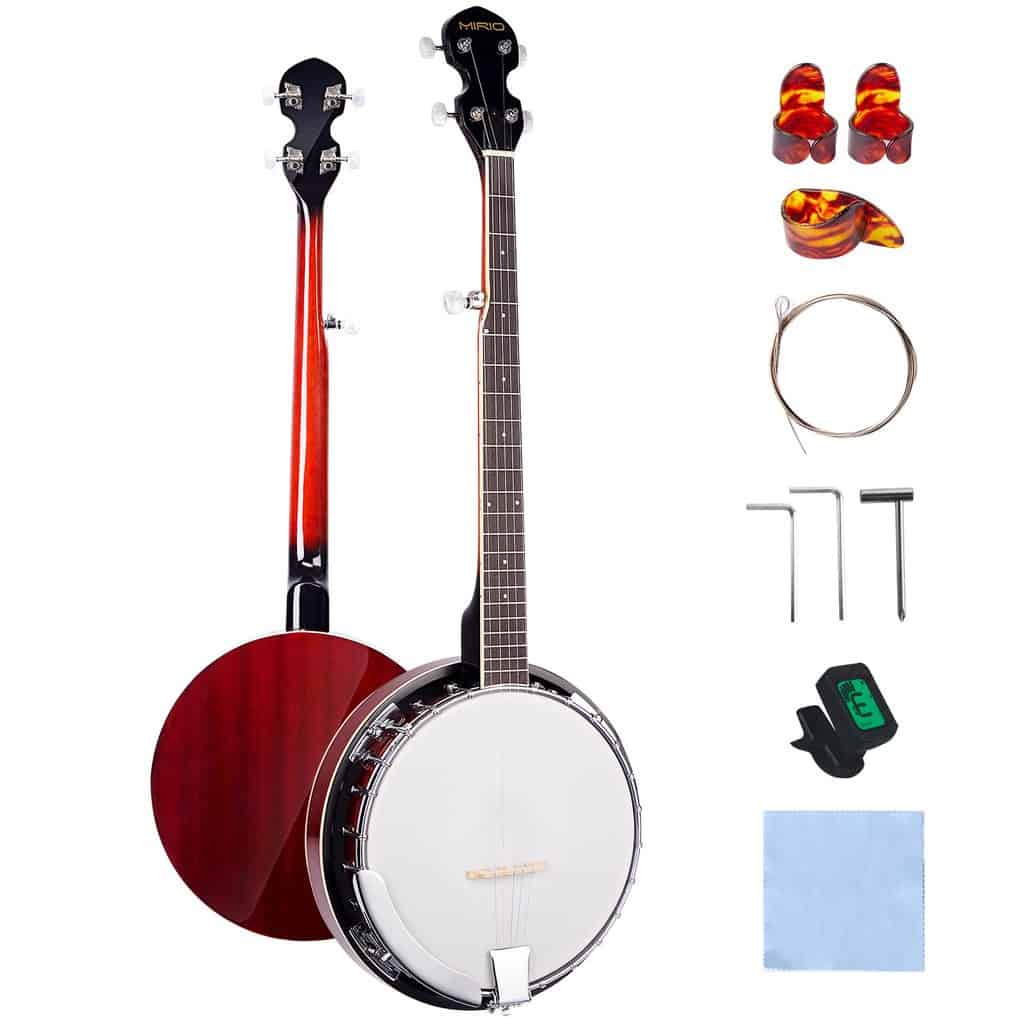
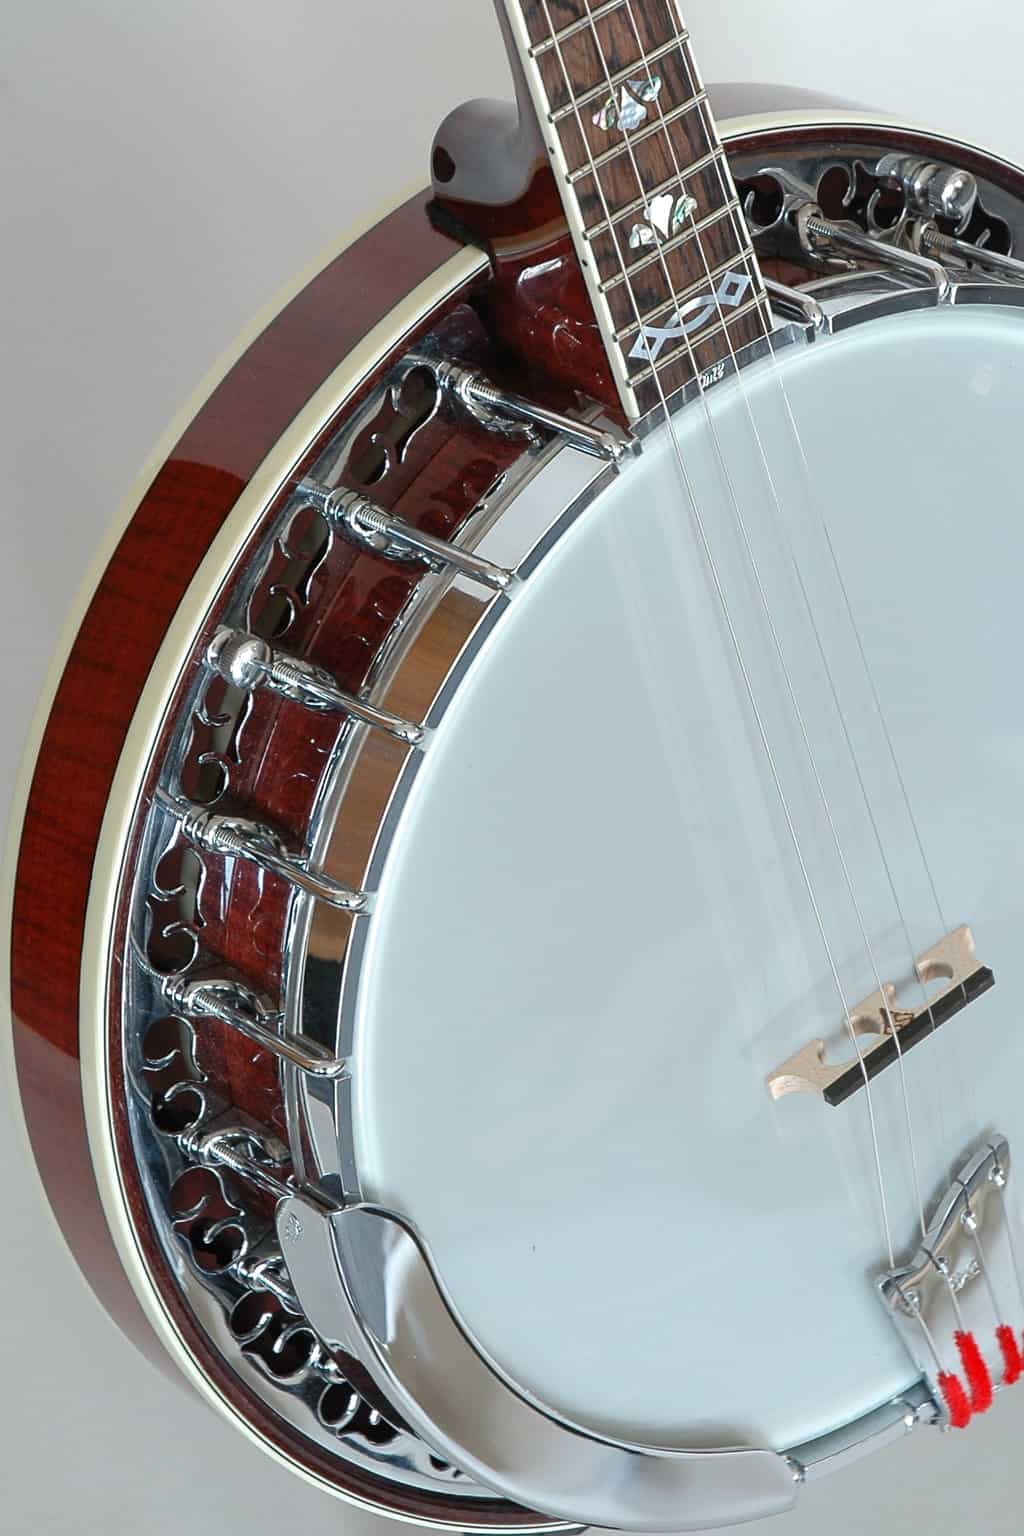
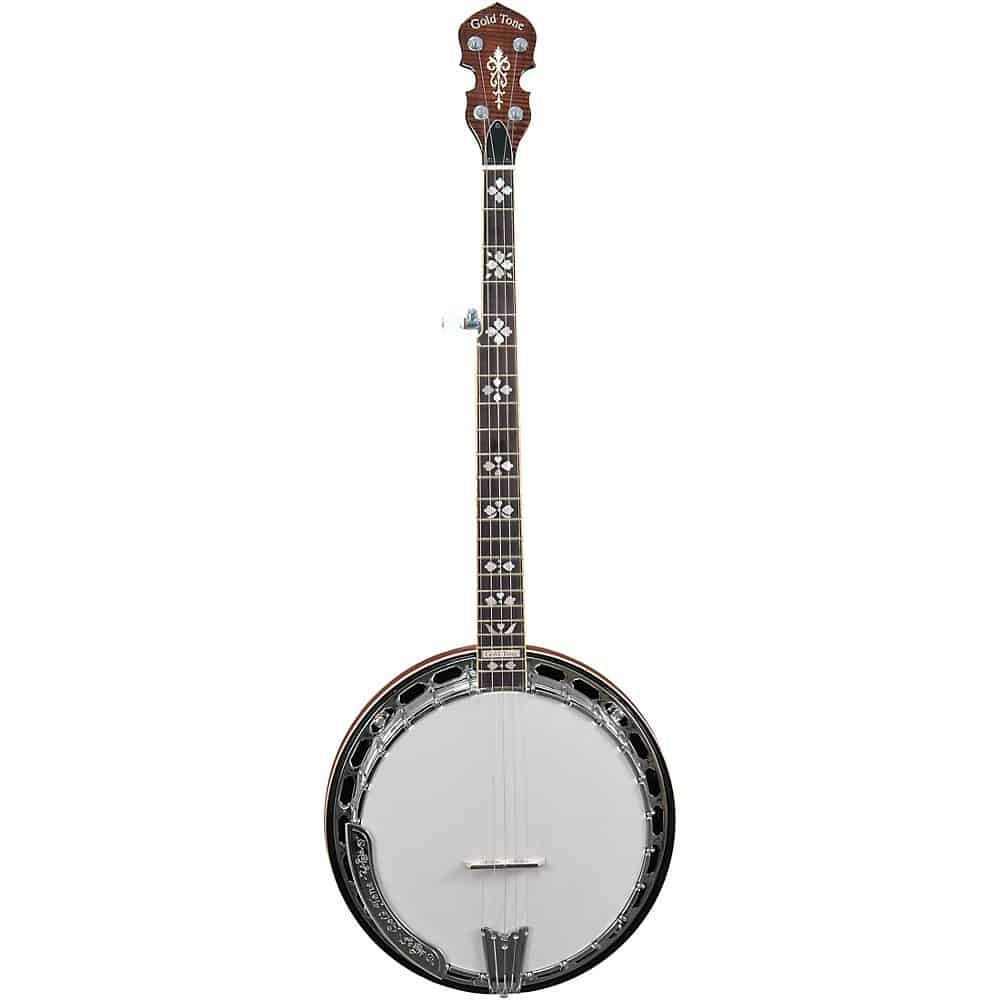
Before diving into the construction process, it’s essential to understand the role of the resonator in a banjo. The resonator is a wooden or plastic bowl-shaped piece attached to the back of the banjo head. It reflects the sound waves produced by the strings, directing them forward and increasing the volume and projection of the instrument.
Materials Needed
To make a banjo resonator, you’ll need the following materials:
1. A suitable piece of wood or plastic for the resonator body (e.g., mahogany, maple, or plastic)
2. A banjo rim or tone ring
3. Wood glue
4. Clamps
5. Sandpaper
6. Finishing materials (e.g., stain, polyurethane, or lacquer)
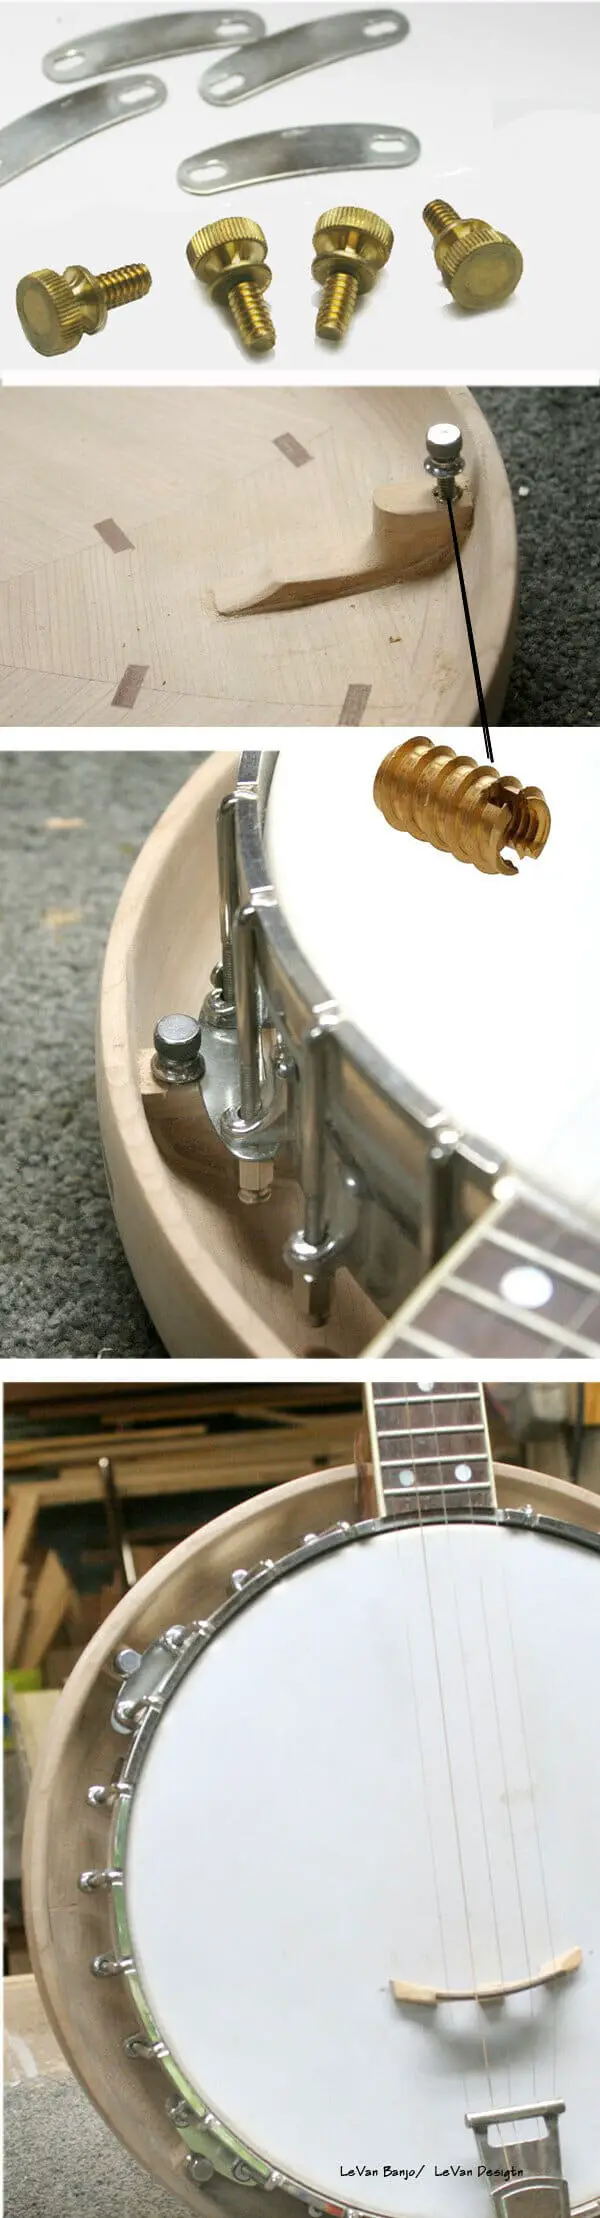
7. Screws or bolts to attach the resonator to the banjo rim
Designing the Resonator

The shape and size of the resonator can significantly impact the instrument’s tone. A larger resonator will typically produce a louder, brighter sound, while a smaller one will result in a mellower tone. Common resonator shapes include round, oval, and hexagonal. Consider the style and sound you’re aiming for when designing your resonator.
Cutting and Shaping the Resonator
Using a jigsaw, band saw, or scroll saw, cut the resonator body to your desired shape and size. Be sure to leave enough material around the edges for shaping and sanding. Use a router or sander to smooth the edges and create a finished look.
Attaching the Resonator to the Banjo Rim
Apply a generous amount of wood glue to the rim’s outer edge, then position the resonator on top, ensuring a snug fit. Use clamps to hold the resonator in place while the glue dries. Once the glue has dried, drill pilot holes and screw or bolt the resonator to the rim, ensuring a secure connection.
Sanding and Finishing the Resonator
Sand the resonator’s surface to create a smooth, even finish. Begin with a coarse-grit sandpaper and gradually move to finer grits for a polished look. Apply your chosen finishing materials, such as stain, polyurethane, or lacquer, following the manufacturer’s instructions for best results.
Testing the Resonator
Once the finishing materials have dried, reassemble your banjo and test the new resonator. Pay close attention to the instrument’s tone and volume, making any necessary adjustments to achieve your desired sound.
Troubleshooting
If you’re not satisfied with the resonator’s performance, consider the following adjustments:
1. Resonator size: A larger or smaller resonator may produce the desired tone.
2. Resonator material: Different materials can affect the instrument’s sound. Experiment with various woods or plastic to find the best fit.
3. Mounting hardware: Tightening or loosening the screws or bolts can alter the resonator’s position, impacting the tone.
Additional Customization
With your new banjo resonator in place, consider further customization options, such as adding a decorative inlay, personalized engraving, or a unique paint job. These touches can make your instrument truly one-of-a-kind and reflect your personal style.
Looking to explore more about musical instruments? Check out our guides on making a banjo rim, holding a mandolin pick, holding a banjo, shipping a banjo, and fixing a harmonica for valuable insights and tips!
Conclusion
Making a banjo resonator is a rewarding project that allows you to customize your instrument and achieve your desired tone. By following the steps outlined in this article, you’ll be well on your way to creating a resonator that meets your needs and enhances your banjo playing experience. Happy crafting!