If you’re passionate about crafting your own musical instruments, then you’ve come to the right place. In this article, I’ll walk you through my step-by-step guide on how to make a banjo rim. With this guide, you’ll learn how to create an authentic banjo rim that you can use to make music. I’ll show you everything from the materials you’ll need, to the tools and techniques for crafting your own banjo rim. So if you’re ready to build your own banjo rim, then let’s get started!
Materials Needed

Wooden rim, wood glue, banjo head, hooks and nuts, sandpaper, hand drill, masking tape, measuring tape, brads, thin paintbrush, hammer, and chisel.
Tools Needed
Wooden block, wood glue, wood chisel, wood saw, drill and drill bits, wood rasp, wood file, wood sandpaper, wood dowel, wood clamps, banjo bridge, banjo head, banjo rim rod, banjo tension hoop, banjo tailpiece, banjo hooks, banjo nuts, banjo coordinator rods, banjo washers, and banjo strings.
Step 1: Cut the Wood
- Gather the materials needed for the banjo rim: a piece of hardwood, a saw and wood glue.
- Measure the wood and mark the measurement with a pencil.
- Cut the wood using the saw according to the measurement.
- Check the cuts and adjust with the saw if needed.
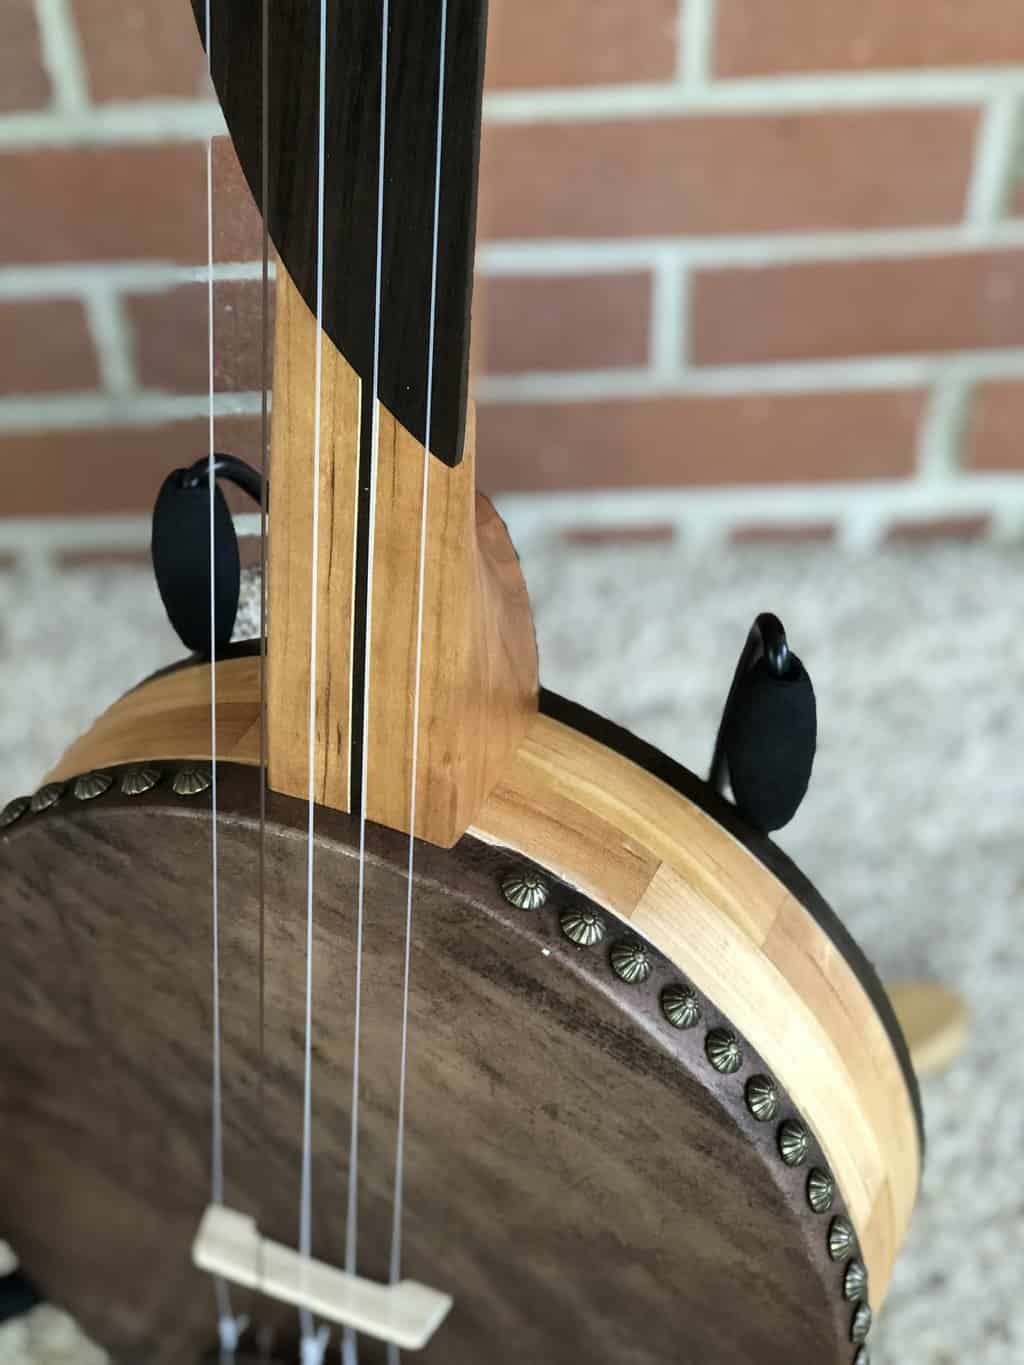
Step 2: Cut the Notch
Using a jigsaw, cut a notch out of the banjo rim that is width-wise the size of the banjo head and depth-wise the size of the banjo head’s bracket hooks. Make sure the cut is as straight and even as possible. Smooth out any rough edges with sandpaper, and check the size of the notch with the banjo head before continuing.
Step 3: Assemble the Pieces
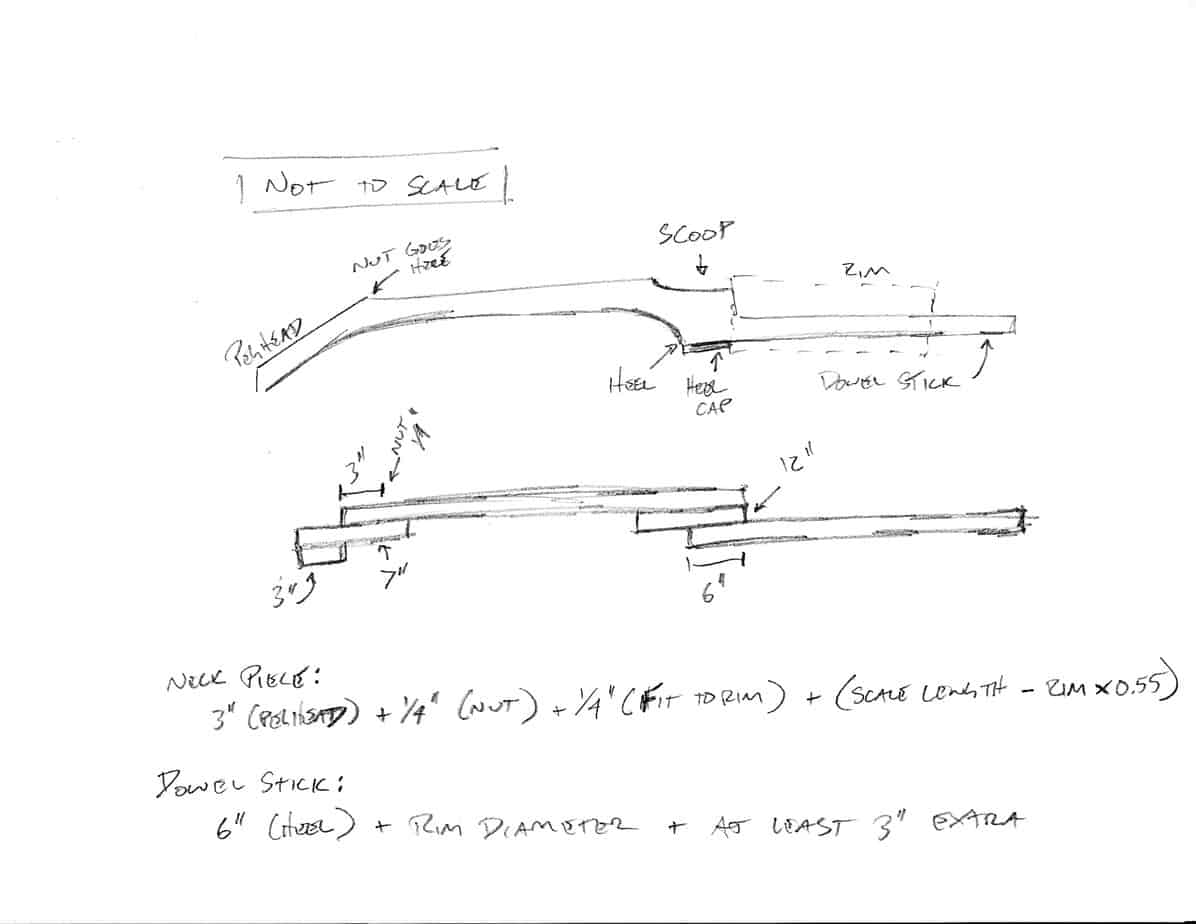
Gather the pieces you’ve cut and sanded and begin assembling the rim. Start by connecting the sides together with the dowels and glue. Make sure that the dowels are snugly fitted and the sides are flush. Once the sides are connected, glue the back to the rim, making sure it fits properly. To finish the rim, glue the end of the dowel to the top of the rim and add the back brace. Allow the glue to dry before continuing.
Step 4: Drill the Tuning Pegs
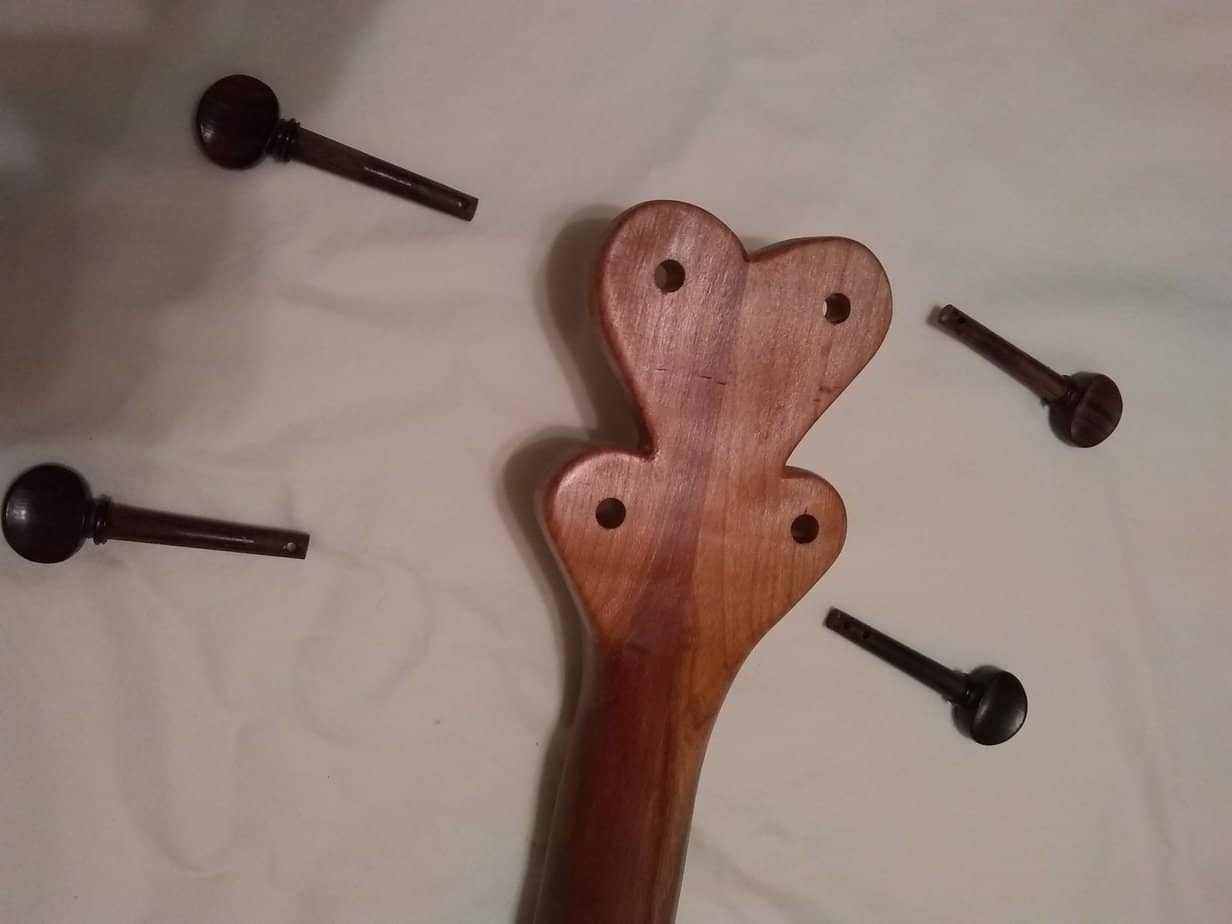
Using a 3/8 inch drill bit, drill four holes in the rim of the banjo at the positions marked for the tuning pegs. Ensure that the holes are drilled perpendicular to the surface.
| Tuning Pegs | Position |
|---|---|
| 1 | 5/8 inch from outer edge |
| 2 | 1/2 inch from outer edge |
| 3 | 3/8 inch from outer edge |
| 4 | 1/4 inch from outer edge |
Once the holes are drilled, insert the tuning pegs into the holes, making sure that they are secured firmly.
Step 5: Attach the Brackets
| Tools | Materials |
|---|---|
| Hammer | Brackets |
| Screwdriver | Screws |
| Drill | Washers |
Attach the brackets to the rim using the screwdriver, hammer, and drill. Make sure to place the washers between the bracket and the rim before tightening the screws. Make sure to evenly tighten the screws on both sides. Place the brackets as evenly as possible.
Step 6: Install the Rim
- Secure rim onto the headstock with screws.
- Secure the tension hoop over the rim.
- Tighten the hoop with the help of a drum key.
- Secure the tailpiece onto the rim.
Step 7: Install the Strings
Attach the bridge to the top of the banjo rim using the pre-drilled holes. Then, pass the strings through the holes of the bridge, and tie the other end of each string to the tailpiece. Tighten the strings to the desired level of tension. Finally, tune the strings to the desired pitch.
Frequently Asked Questions
What Materials are Needed to Make a Banjo Rim?
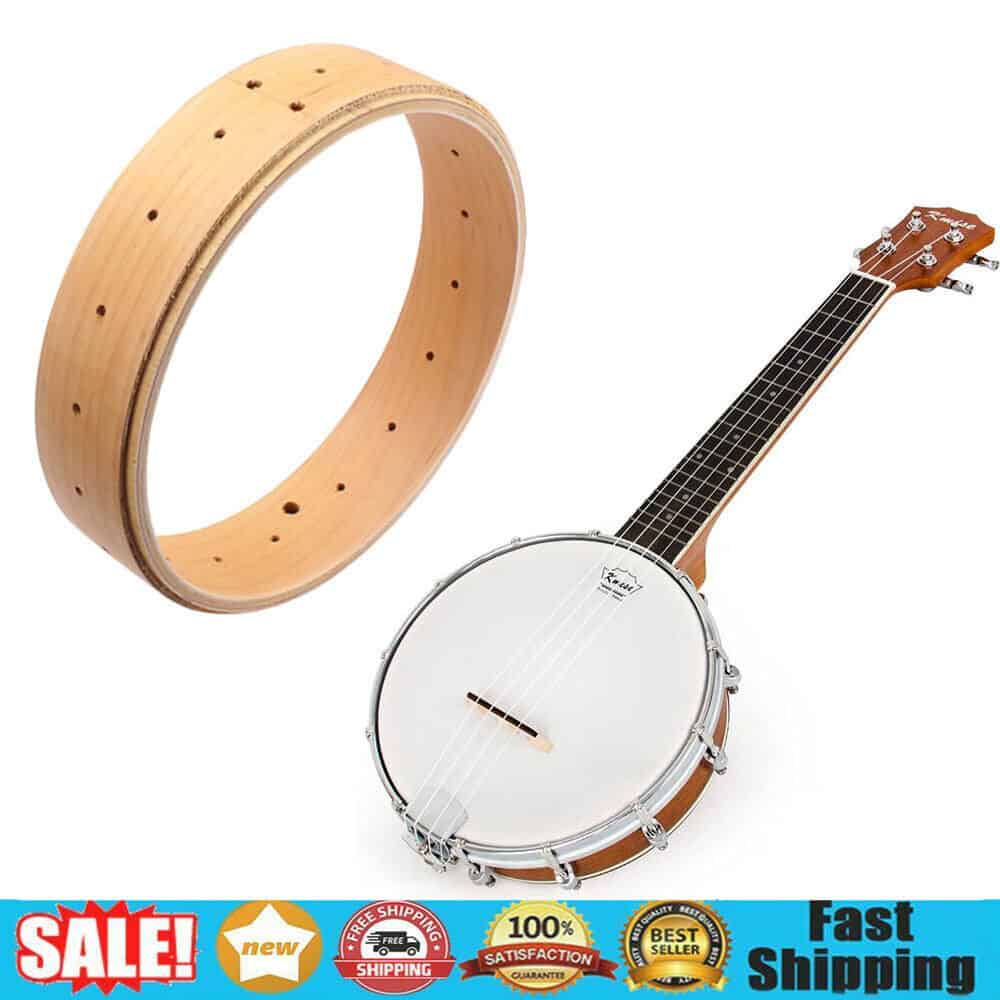
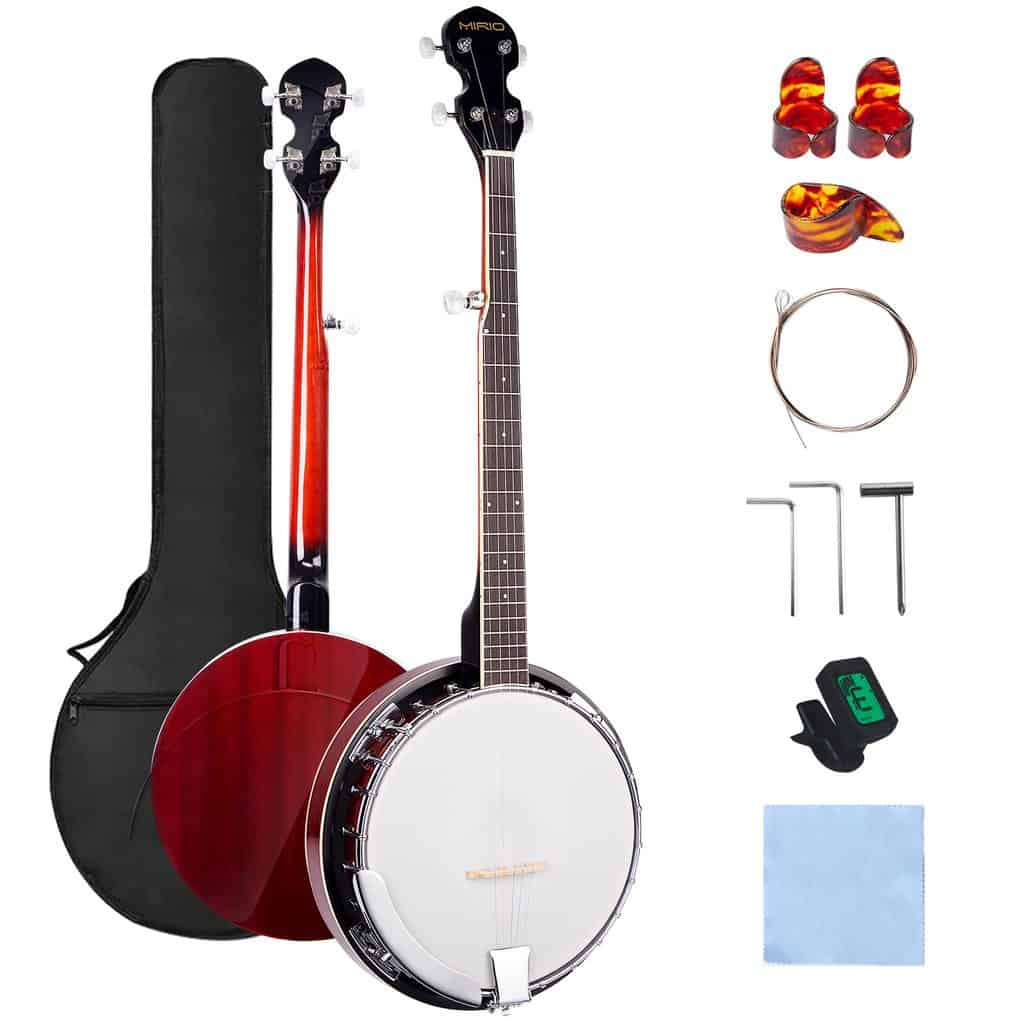
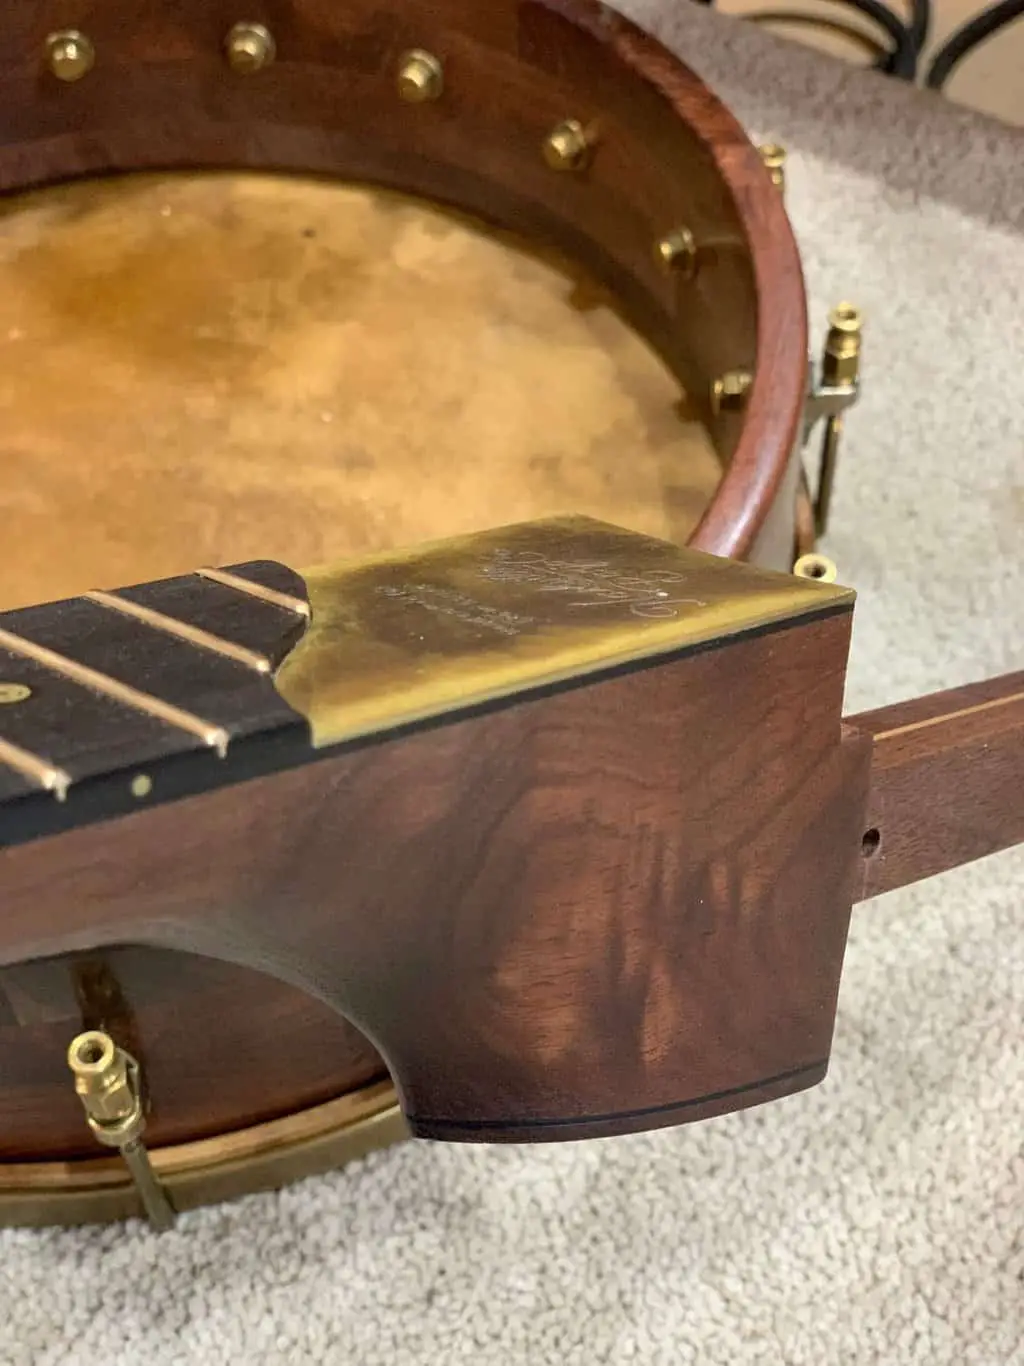
To make a banjo rim you will need wood for the rim, a banjo tone ring, a tension hoop, banjo head, bracket hooks, nuts, washers, and lag screws. The wood for the rim can be either maple or walnut, and should be 3/4″ thick and 12″ in diameter. The banjo tone ring is usually a cast bronze or brass ring that sits on the edge of the wooden rim. The tension hoop is the round metal hoop that fits over the banjo head and is tightened by the bracket hooks. The banjo head is usually made of a plastic material and provides a surface for the tension hoop to press against. The bracket hooks, nuts, washers, and lag screws are used to attach the tension hoop to the wooden rim and to tighten the tension hoop.
How Many Pieces Are Required For A Banjo Rim?
To make a banjo rim, you will need a pre-drilled rim (plain or with a tone ring), a tension hoop, 24 tension hooks and nuts, a tailpiece, and a bracket band. The bracket band will have a number of brackets (usually 12) for attaching the strings to the tailpiece. The tailpiece is secured to the rim with the bracket band, and the tension hoop is attached to the rim with the tension hooks and nuts.
What is the Best Type of Wood to Use for a Banjo Rim?
Woods such as maple, walnut, cherry and mahogany are ideal for banjo rims. They are strong and have good acoustic properties. Maple is the most popular choice as it is lightweight and provides good resonance. The density of the wood will also affect the sound of the banjo so choose wisely. Maple has a good balance of density and resonance, making it a great option.
What tools are necessary for crafting a banjo rim?
Tools necessary for crafting a banjo rim include a drill, drill bit, screwdriver, wood glue, wood rasp, and wood chisel. A handsaw or jigsaw is also useful for cutting the wood. For sanding, a belt sander or orbital sander is ideal. Finally, clamps are needed to hold the rim together while it dries.
What techniques are required to shape a banjo rim?
Shaping a banjo rim requires a combination of cutting, sanding, and filing techniques. The rim needs to be cut to the desired size and shape, then sanded down to a smooth finish. Finally, the edges should be filed to a rounded or bevelled shape. Care must be taken to ensure the rim is symmetrical and of consistent thickness throughout. To finish off, the rim should be buffed or polished to give it a professional look.
Conclusion
Making a banjo rim is a rewarding and satisfying experience. By following the steps outlined in this guide, you can craft a quality banjo rim that will last for years. Once you have mastered the basics, you can experiment with different woods and designs to create a unique instrument that reflects your own individual style.