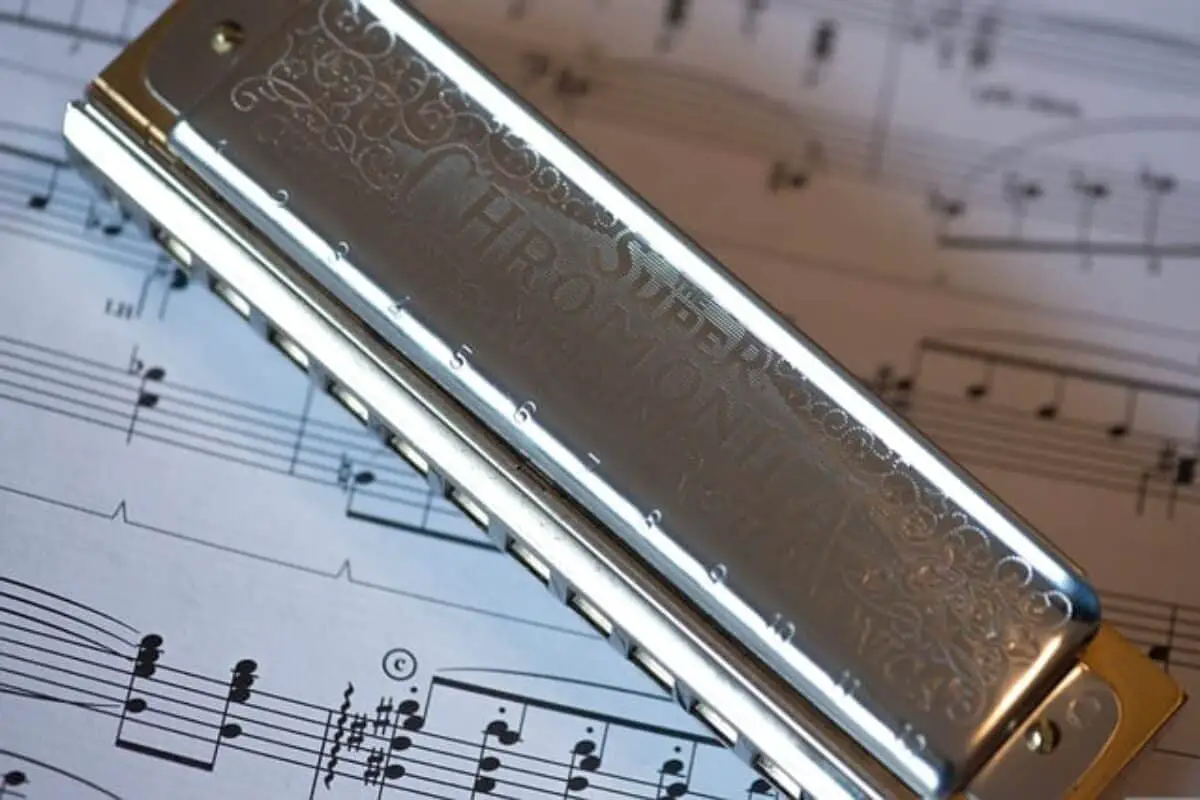
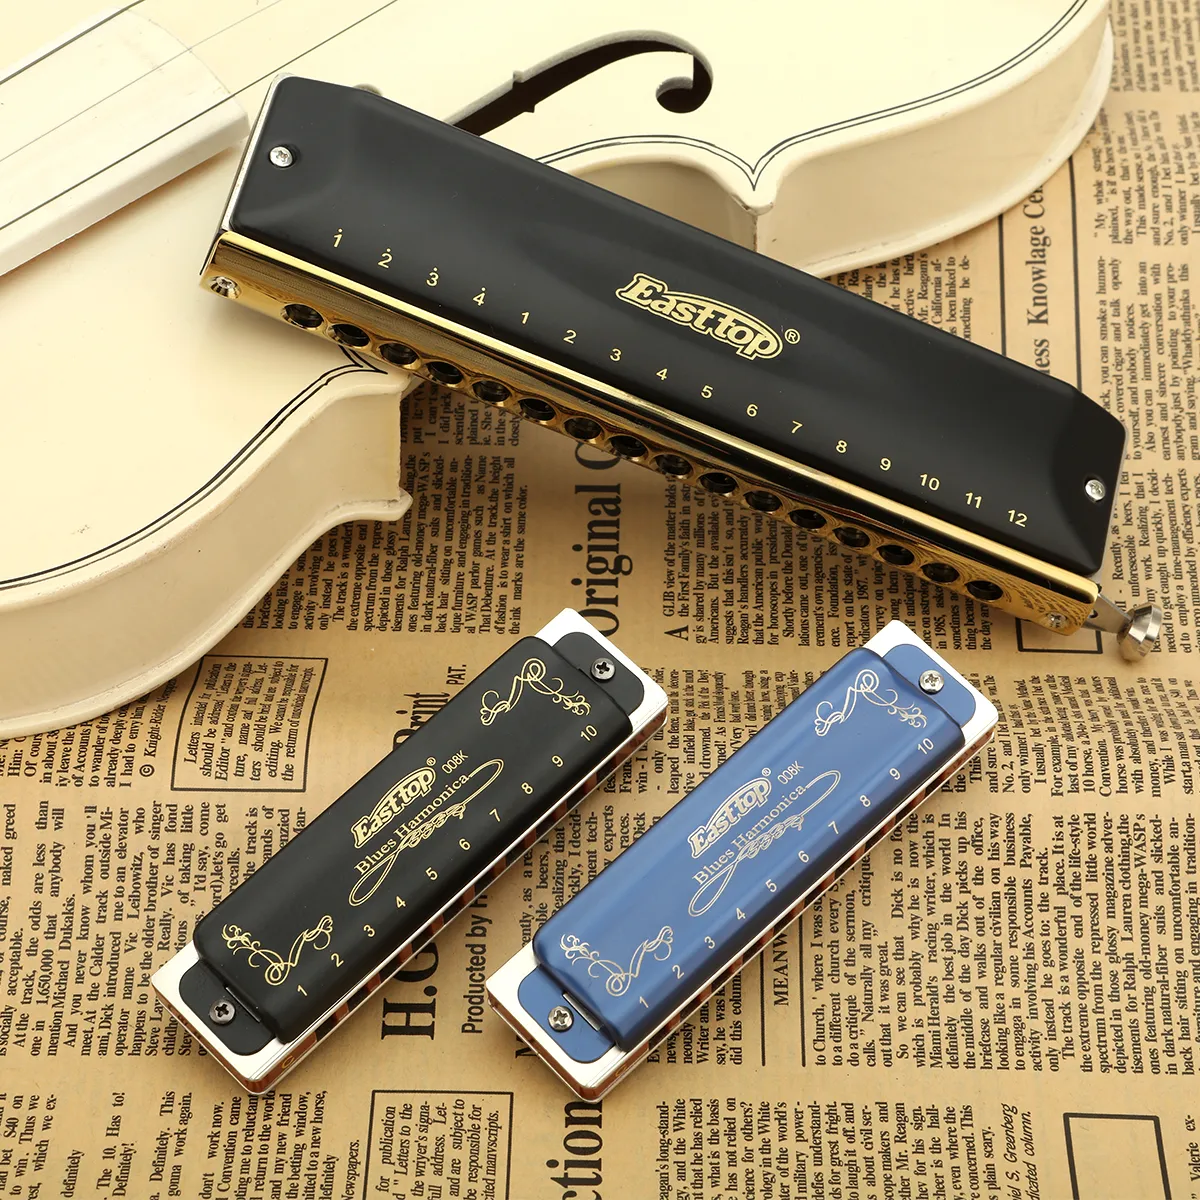
If you’re wondering how to put a harmonica back together, then you’ve come to the right place. This step-by-step guide will help you quickly and easily assemble your harmonica. Whether you’re a beginner or an experienced player, this guide will walk you through the process of putting your harmonica back together, so you can get back to playing your favorite songs. So let’s get started!
Gather Tools and Materials
You will need a few tools and materials in order to put the harmonica back together. These include a small Phillips screwdriver, tweezers, a pair of needle-nose pliers, and a cloth rag. You will also need a few small screws and springs, which you can obtain from a music store. Additionally, you will need some wood glue and a few drops of oil to lubricate the springs and screws. Have all the tools and materials ready before you begin the assembly process.
Disassembly
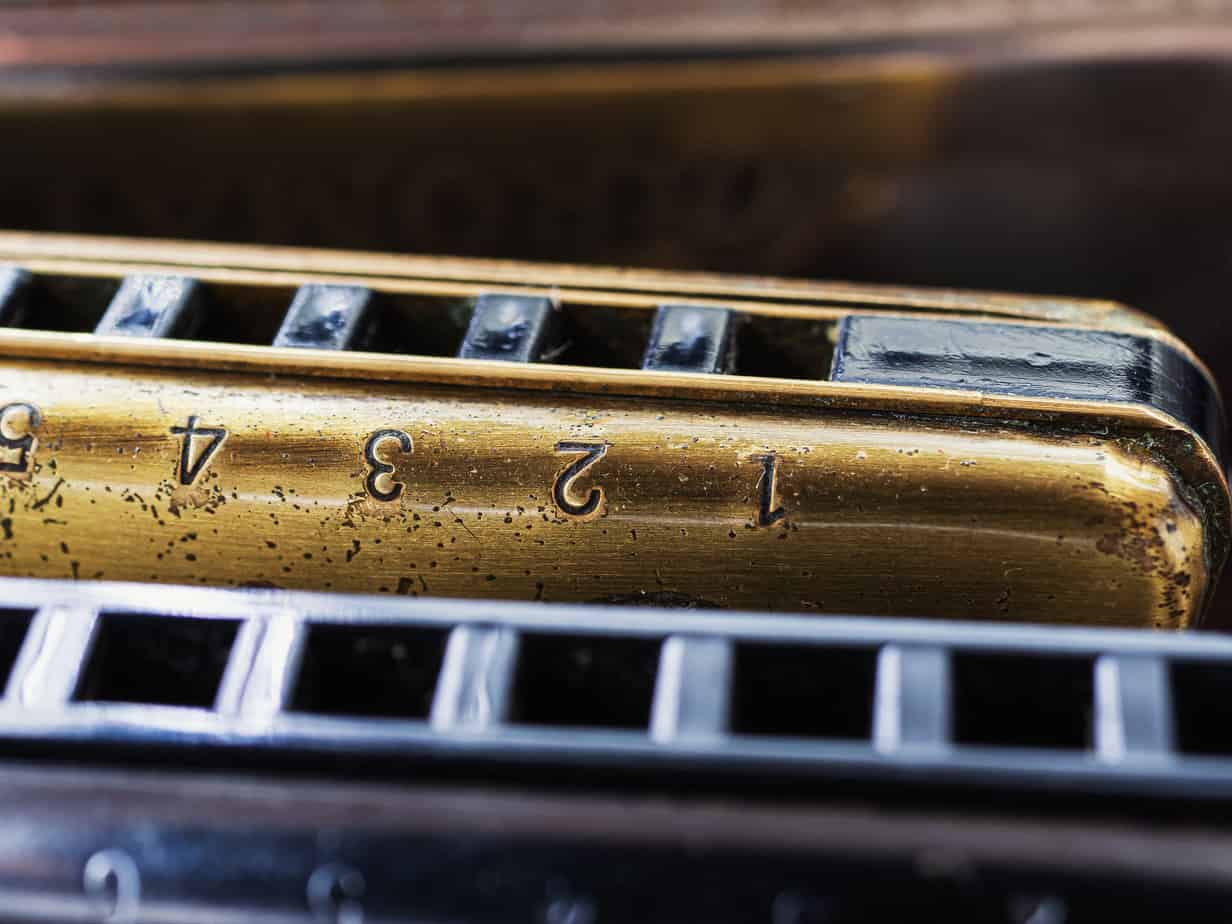
1. Remove the Cover Plates
Carefully remove the cover plates from the harmonica. If they are stuck, use a thin flat object to help pry them off.
2. Unscrew the Comb
Unscrew the comb, which holds the reeds in place. This is usually done with a Phillips screwdriver.
3. Remove the Reeds and Spacers
Once the comb has been removed, take out the reeds and spacers. Be careful not to bend the reeds as you remove them.
Cleaning
1. Clean the Comb
Gently brush away dirt, dust and debris from the comb with a soft bristled brush. Use a damp cloth to wipe away any remaining residue.
2. Clean the Reeds
Clean the reeds with a small brush and a damp cloth, wiping away any dust or debris.
3. Clean the Cover Plates
Clean the cover plates with a soft bristled brush. Use a damp cloth to wipe away any dirt or residue.
Assembly
Place the cover plate and the comb onto the harmonica. Align the two pieces so that the holes in the cover plate line up with the reeds in the comb. Secure them together with screws. Insert the reed plates into the comb, making sure that each slot is filled with a reed plate. Secure the reed plates with screws. Place the mouthpiece onto the cover plate. Replace the screws to secure the mouthpiece in place. Put the slide assembly back onto the plate. Secure the slide assembly with screws. Replace the screws that secure the cover plate and comb. Reassemble the air chamber, making sure the airtight seals are in place. Secure the air chamber with screws. Your harmonica is now reassembled.
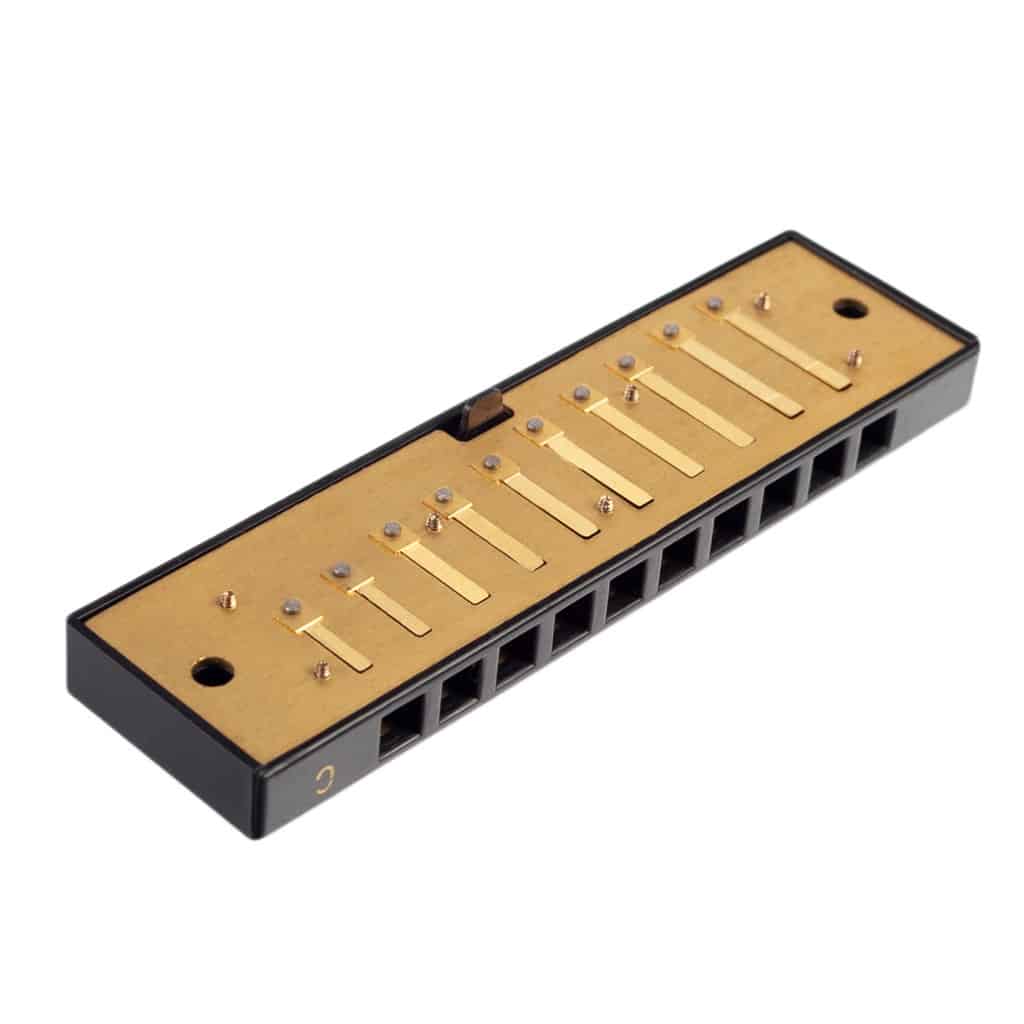
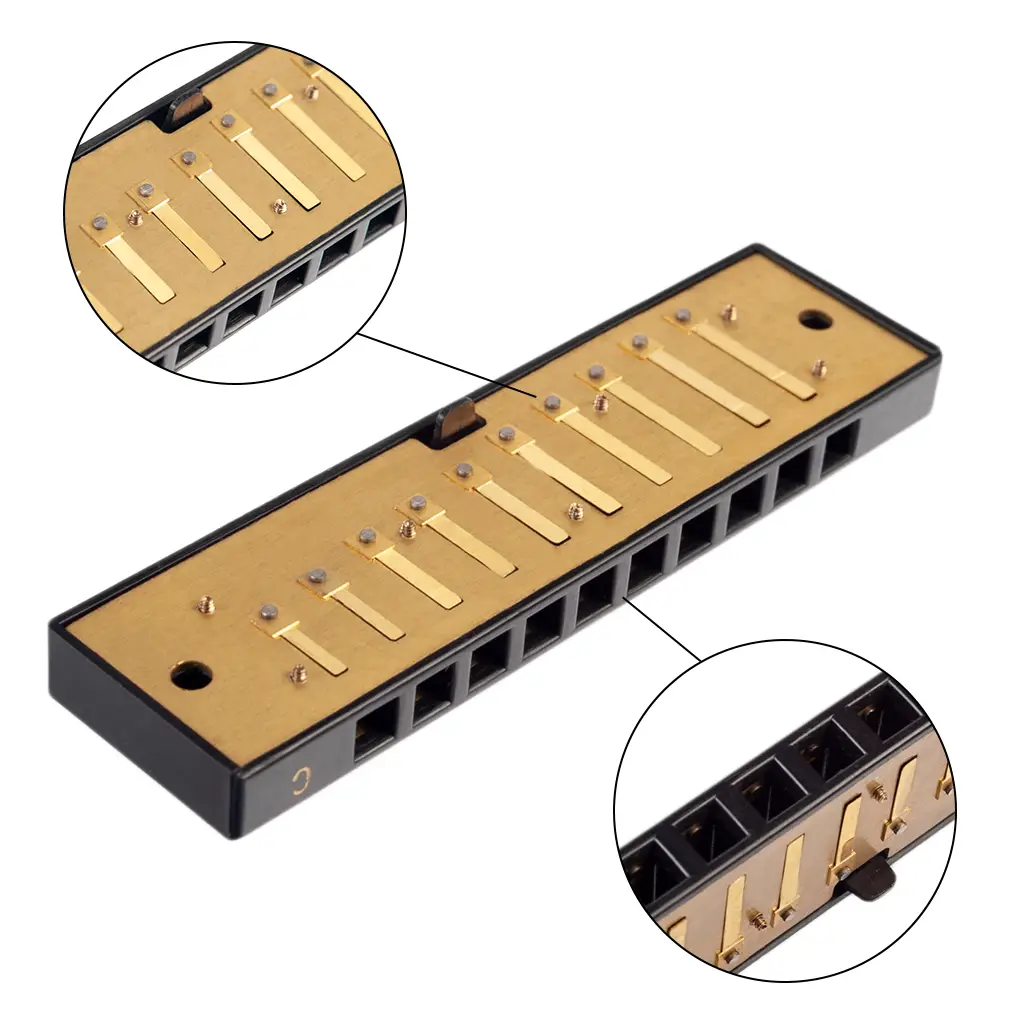
1. Insert the Reeds and Spacers
- Lift up the top cover of the harmonica and remove the reed plates
- Check the reeds for any signs of damage or corrosion
- If any of the reeds are damaged, replace them
- Insert the reeds into the reed plates, making sure the tines of the reeds are facing down
- Insert the spacers into the reed plates, again making sure the tines are facing down
2. Reattach the Comb
- Gently slide the comb back into the cover.
- It should fit snugly.
- Check the comb for any loose screws or parts.
- If necessary, use a screwdriver to tighten them.
- Continue to check the comb for any signs of damage.
3. Reattach the Cover Plates
- Place the left-hand cover plate onto the reed blocks.
- Secure the left-hand cover plate with the screws.
- Place the right-hand cover plate onto the reed blocks.
- Secure the right-hand cover plate with the screws.
Testing
| Step | Instructions |
|---|---|
| 1 | Assemble the harmonica pieces together. |
| 2 | Test the harmonica to make sure the reeds respond correctly when blown or sucked. |
| 3 | If the harmonica does not respond correctly, adjust the reeds and check again. |
Maintenance
- Check the reeds for corrosion and debris.
- Clean and lubricate all moving parts.
- Replace any broken or worn out parts.
- Tighten all screws and nuts.
- Check the comb for cracks or splits.
- Replace the comb or reeds if required.
- Check for air leaks in the harmonica.
- Check for proper alignment of the reeds.
- Check the tuning of the harmonica.
- Check for proper air pressure.
Conclusion
After following the steps above, you should have your harmonica reassembled and ready to play. Make sure to test the reassembled harmonica to ensure that it is functioning correctly. If it is not, then refer back to the steps above and make sure that all the parts are correctly aligned and securely fastened. To keep your harmonica in top condition, it is important to clean it regularly and store it when not in use.
Frequently Asked Questions
What tools do I need to put a harmonica back together?
To put a harmonica back together, you will need a small screwdriver, a pair of tweezers, small pliers and a small brush. You may also need a cotton swab and some cleaning alcohol if the harmonica needs to be cleaned.
How do I ensure that all the pieces of the harmonica are in the right place?
Check the diagrams of the reassembled harmonica that can be found online to ensure that all of the pieces are being put back in the right place. If possible, use a magnifying glass to examine the pieces and check that they fit together precisely. Additionally, check the reed plates, comb, and cover plates for any damage or corrosion that may have occurred during dismantling. Finally, use a clean cloth to wipe the harmonica clean.
Are There Any Special Techniques to Ensure a Secure Assembly?
When reassembling a harmonica, it is important to ensure that all parts are properly aligned and secured. Use tweezers to hold the metal reed plates and spacers in place as you screw the screws into the comb. Place the spring and cover plates back in place and make sure they are properly aligned. Use a small screwdriver to tighten the screws. Make sure the screws are not over-tightened as this can damage the harmonica. Finally, use a harmonica maintenance kit to lubricate the reed plates and screws.
What is the Best Way to Reassemble a Harmonica After it Has Been Taken Apart?
When reassembling a harmonica, it is important to start with the reed plates and reeds, followed by the cover plates, screws and springs. Begin by ensuring that all reeds are facing the same direction, with the reed stamped with the note facing away from the reed plate. The reed plates should be tightly secured to the comb with the screws. Next, the cover plates should be attached to the reed plates with the screws, making sure to press firmly to ensure the reeds are in contact with the cover plate. Once the cover plate is secured, replace the springs and screws to their original positions. Once all pieces are in their respective places, the harmonica should be reassembled and ready for use.
What safety precautions should I take when putting a harmonica back together?
Wear safety goggles and gloves to protect the eyes and hands from any small parts that may fly off during assembly. Additionally, use a steady, flat surface to assemble the harmonica and ensure all tools used are appropriate for the job. Keep all tools and small parts away from children to prevent any accidents.
Conclusion
Reassembling a harmonica is not a difficult task, but it is important to take your time and follow the steps carefully. Make sure all parts are secure and lined up correctly before you start playing again. With proper maintenance, your harmonica should remain in good condition for many years.