Playing a guitar requires a certain level of skill and practice, but even the most experienced guitarists need the right tools to ensure they’re in tune. That’s where a guitar electronic tuner comes in. In this article, we’ll explore the importance of using a tuner, the different types of tuners available, and how to use a guitar electronic tuner to keep your instrument sounding its best.
What is a Guitar Electronic Tuner?
A guitar electronic tuner is a device that helps guitarists tune their instrument by measuring the frequency of the strings’ vibrations and displaying the note and level of tuning. There are many different types of tuners available, but guitar electronic tuners are the most popular and widely used.
Why is it Important to Tune Your Guitar?
Tuning your guitar is essential for producing good sound quality. When a guitar is out of tune, the notes will sound off, making it difficult to play and enjoy music. Regular tuning also helps to ensure that the strings are not overly tight or loose, which can cause damage to the instrument over time.
Types of Guitar Electronic Tuners
There are several types of guitar electronic tuners available, including:
Clip-On Tuners
Clip-on tuners attach directly to the headstock of the guitar and use a vibration sensor to detect the pitch of the strings. They are highly accurate and easy to use, making them a popular choice for many guitarists.
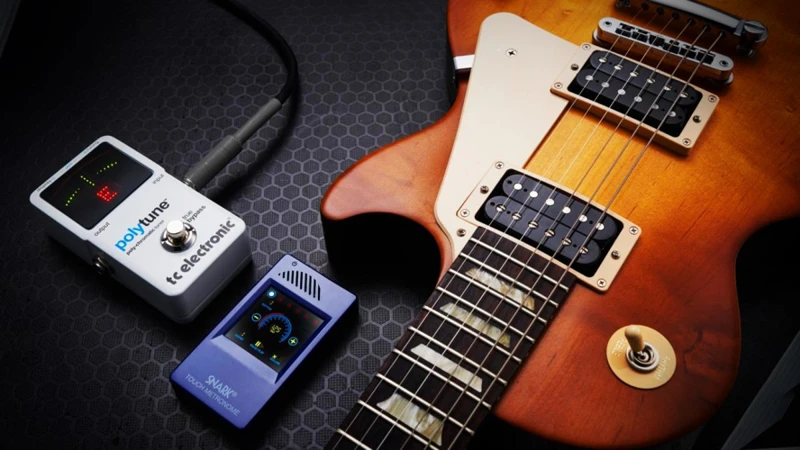
Pedal Tuners
Pedal tuners are designed for use with electric guitars and are typically connected to the instrument via a 1/4 inch cable. They are highly accurate and can be used on stage or in the studio.
Handheld Tuners
Handheld tuners are compact and portable, making them a great option for guitarists on the go. They use a built-in microphone to detect the pitch of the strings and are available in both chromatic and guitar-specific models.
App-Based Tuners
App-based tuners are software applications that can be downloaded to a smartphone or tablet. They use the device’s built-in microphone to detect the pitch of the strings and are a convenient option for guitarists who prefer to use their mobile device as a tuner.
How to Use a Guitar Electronic Tuner
Using a guitar electronic tuner is relatively straightforward. Here are the basic steps:
1. Turn on the tuner and select the type of tuning you want to use (standard, drop D, etc.).
2. Play each string one at a time, observing the tuner’s display to see if the note is sharp, flat, or in tune.
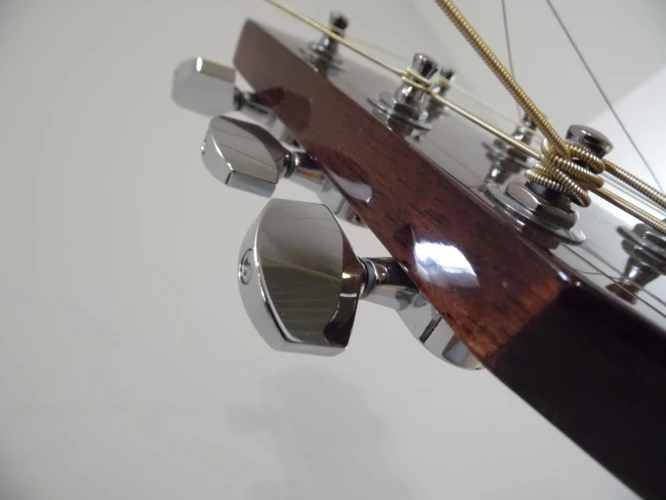
3. Adjust the tuning pegs on the guitar to bring each string into tune.
4. Repeat the process for each string until all strings are in tune.
Tips for Using a Guitar Electronic Tuner
Here are some tips to keep in mind when using a guitar electronic tuner:
Use a High-Quality Tuner
Investing in a high-quality tuner will ensure accurate tuning and make the process easier and more efficient.
Tune in a Quiet Environment
Tuning in a noisy environment can make it difficult to hear the strings and the tuner’s display. Find a quiet space to tune your guitar for the best results.Tune One String at a Time
Tuning one string at a time will ensure that each string is in tune with the others and will help to prevent damage to the instrument.
Check Tuning Regularly
Checking your guitar’s tuning regularly will help to ensure that it stays in tune and sounds its best.
Looking to enhance your guitar playing for country music? Check out our articles on clip-on guitar tuners, guitar pedals for country music, string materials for tone and playability in country music, sliding techniques for electric guitar in country music, and evolution of amp sound for country music on electric guitar. Explore these resources to take your country music guitar playing to the next level!
Conclusion
A guitar electronic tuner is an essential tool for any guitarist, regardless of skill level. By using a high-quality tuner and following the tips outlined in this article, you can ensure that your guitar is always in tune and ready to play. Whether you’re a beginner or an experienced guitarist, a guitar electronic tuner is a must-have accessory that will help you to produce the best possible sound quality.