Acoustic guitars are a popular choice for musicians of all skill levels. They offer a warm, rich sound that is perfect for a variety of musical styles. However, like any instrument, they require regular cleaning and maintenance to keep them in top playing condition. In this article, we will explore the steps you can take to clean your acoustic guitar at home.
Gather Your Cleaning Supplies
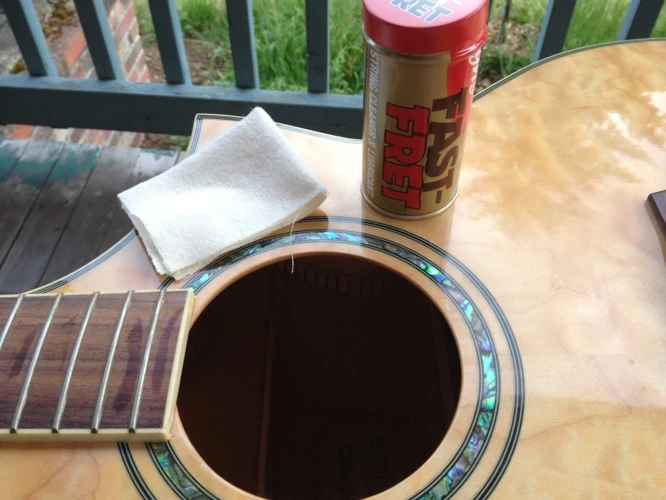
Before you begin cleaning your acoustic guitar, it’s important to gather all of the necessary supplies. This will ensure that you have everything you need on hand and can complete the cleaning process efficiently. Here’s a list of what you’ll need:
- A soft, lint-free cloth
- A guitar cleaning solution or mild dish soap and warm water
- A soft-bristled toothbrush or other small brush
- Polish or wax (optional)
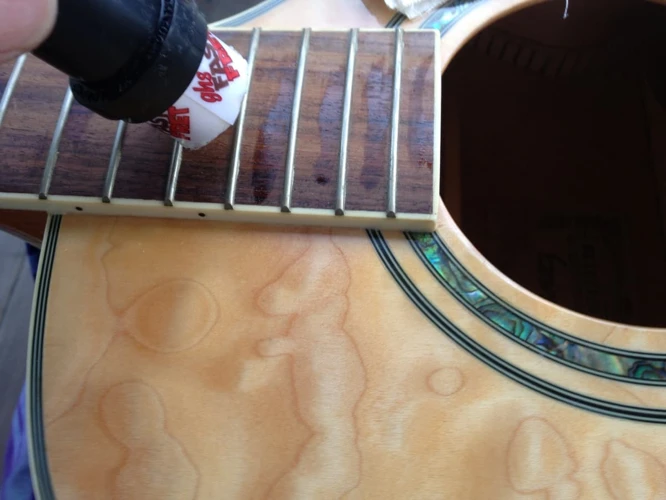
Clean the Strings
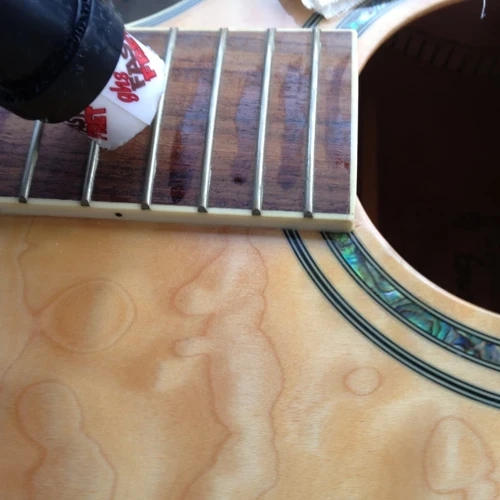
The strings on your acoustic guitar are one of the most important parts to keep clean. Dirty strings can affect the sound of your guitar and make it more difficult to play. To clean your strings, follow these steps:
- Wipe down the strings with a dry, lint-free cloth to remove any surface dirt or grime.
- If the strings are particularly dirty, create a cleaning solution by mixing a few drops of mild dish soap with warm water. Dip a soft-bristled toothbrush or other small brush into the solution and gently scrub the strings, being careful not to scrub too hard or damage the finish on the guitar.
- Wipe down the strings with a clean, dry cloth to remove any remaining dirt or cleaning solution.
Clean the Fretboard
The fretboard on your acoustic guitar can also become dirty over time. Here’s how to clean it:
- Use a soft, lint-free cloth to wipe down the fretboard and remove any surface dirt or grime.
- If the fretboard is particularly dirty, create a cleaning solution by mixing a few drops of mild dish soap with warm water. Dip a soft-bristled toothbrush or other small brush into the solution and gently scrub the fretboard, being careful not to scrub too hard or damage the wood.
- Wipe down the fretboard with a clean, dry cloth to remove any remaining dirt or cleaning solution.
Clean the Body

The body of your acoustic guitar is the largest and most visible part, so it’s important to keep it clean. Here’s how:
- Use a soft, lint-free cloth to wipe down the body of the guitar and remove any surface dirt or grime.
- If the body is particularly dirty, create a cleaning solution by mixing a few drops of guitar cleaning solution or mild dish soap with warm water. Dip a soft cloth into the solution and gently wipe down the body of the guitar, being careful not to scrub too hard or damage the finish.
- Wipe down the body with a clean, dry cloth to remove any remaining dirt or cleaning solution.
Polish or Wax the Guitar (Optional)
If you want to give your acoustic guitar a little extra shine, you can use a guitar polish or wax. This step is optional, but it can help to protect the finish on your guitar and keep it looking its best. Here’s how:
- Apply a small amount of polish or wax to a soft, lint-free cloth.
- Gently rub the polish or wax into the finish on the guitar, using circular motions.
- Buff the guitar with a clean, dry cloth to remove any excess polish or wax and restore the shine.
Regular Cleaning and Maintenance
Cleaning your acoustic guitar regularly is an important part of maintaining its sound and playability. We recommend cleaning your guitar at least once a month, or more often if you play it frequently. In addition to regular cleaning, there are a few other things you can do to keep your guitar in top condition:
- Store your guitar in a case or gig bag when not in use to protect it from dust and other debris.
- Use a humidifier in dry environments to prevent the wood on your guitar from cracking or warping.
- Have your guitar professionally set up and maintained on a regular basis to ensure that it stays in top playing condition.
Looking to keep your acoustic guitar in top condition? Check out our articles on the importance of cleaning your acoustic guitar, the best humidifiers to use, restringing techniques, and 5 cleaning techniques to maintain your instrument!
Conclusion
Cleaning your acoustic guitar at home is a simple and effective way to keep it in top playing condition. By gathering the necessary supplies, cleaning the strings, fretboard, and body, and maintaining your guitar on a regular basis, you can ensure that it sounds and plays its best for years to come.