The Telecaster guitar is a classic instrument that has been a staple in the music industry for decades. Its bright and twangy sound has been heard in countless genres, from country to rock and everything in between. To keep your Telecaster sounding and playing its best, it’s important to perform regular maintenance and upkeep. In this blog post, we’ll go over some tips and tricks for maintaining your Telecaster guitar.
Cleaning Your Telecaster
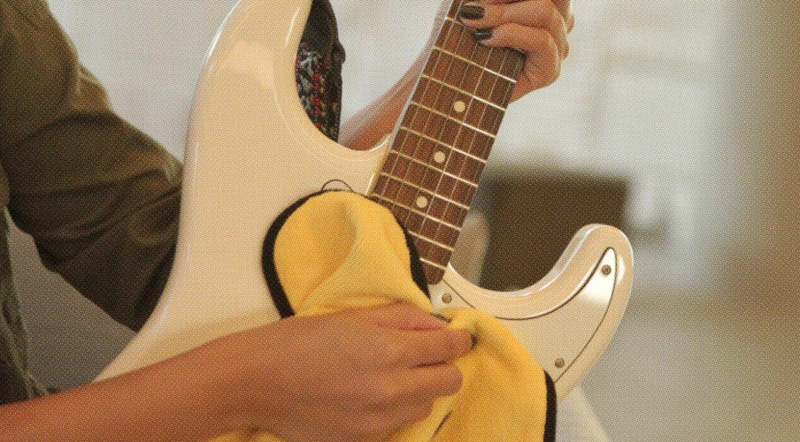
The first step in maintaining your Telecaster is to keep it clean. Dust, dirt, and grime can build up on the guitar’s body, neck, and fretboard, which can affect the instrument’s sound and playability. To clean your Telecaster, you’ll need a soft, lint-free cloth, some guitar cleaning solution, and a few cotton swabs.
Start by dampening the cloth with the cleaning solution and wiping down the guitar’s body and neck. Be sure to avoid getting any liquid on the electronics or hardware. Next, use the cotton swabs to gently clean the nooks and crannies around the bridge, tuning machines, and pickups. Finally, wipe down the guitar again with a dry cloth to remove any excess cleaning solution.
Adjusting the Truss Rod
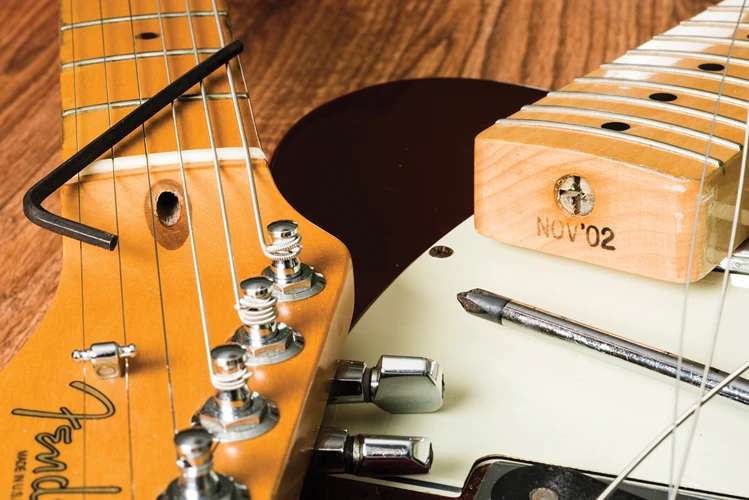
The truss rod is a metal rod that runs through the neck of the guitar and helps to maintain its straightness. Over time, the neck can become bent or warped, which can affect the guitar’s action and intonation. To adjust the truss rod, you’ll need a truss rod wrench, which can be found at most music stores.
First, locate the truss rod adjustment nut, which is usually located at the headstock of the guitar. Insert the truss rod wrench and turn it slowly, either clockwise or counterclockwise, depending on whether the neck is bowed or back-bowed. You should see the neck gradually straighten or curve as you turn the wrench. Be sure not to turn the wrench too far, as this can damage the truss rod or neck.
Setting the Action

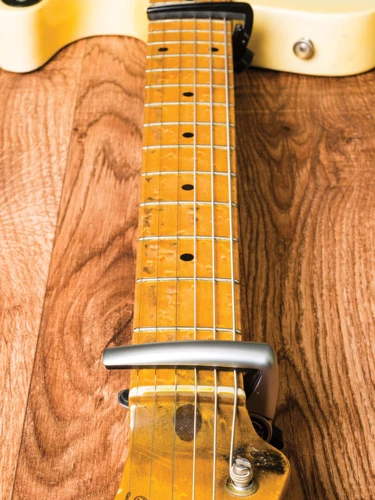
The action of a guitar refers to the distance between the strings and the fretboard. A lower action can make the guitar easier to play, but if it’s too low, the strings may buzz against the frets. Conversely, a higher action can make the guitar harder to play, but if it’s too high, the strings may be difficult to press down.
To set the action, you’ll need a set of feeler gauges and a screwdriver. Locate the saddle adjustment screws on the bridge of the guitar and use the screwdriver to adjust the height of the saddles. You can use the feeler gauges to measure the distance between the strings and the fretboard at various points along the neck.
Checking the Intonation
Intonation refers to the guitar’s ability to play in tune up and down the neck. If the intonation is off, the guitar may sound out of tune, even if it’s in tune at the open strings. To check the intonation, you’ll need a tuner and a set of feeler gauges.
First, tune the guitar to standard pitch. Next, play each string at the 12th fret and compare the pitch to the open string. If the pitch is sharp or flat, you can adjust the intonation by moving the saddle forward or backward. Use the feeler gauges to measure the distance between the string and the 12th fret, and adjust the saddle accordingly.
Changing the Strings
Changing the strings on your Telecaster is a routine maintenance task that should be done every few months, or whenever the strings start to sound dull or lose their tension. To change the strings, you’ll need a set of new strings, a wire cutter, and a string winder (optional).
Start by removing the old strings, one at a time. Be sure to keep track of which string goes where, as the gauge and winding direction can vary. Once all the old strings are removed, thread the new strings through the bridge and tuning machines, and wind them up to pitch. Use the wire cutter to trim any excess string length, and tune the guitar again to make sure it’s in tune.
Lubricating the Tuning Machines
The tuning machines on your Telecaster can become stiff or difficult to turn over time, which can make it difficult to keep the guitar in tune. To lubricate the tuning machines, you’ll need some lubricating oil, such as sewing machine oil or a dedicated guitar lubricant.
Locate the tuning machine gears, which are usually accessible through the back of the headstock. Apply a few drops of lubricating oil to the gears, being careful not to get any oil on the strings or finish. Use a small brush or cotton swab to work the oil into the gears, and then turn the tuning machines back and forth to distribute the oil.
Storing Your Telecaster
When you’re not playing your Telecaster, it’s important to store it in a safe and secure location. This can help to protect the guitar from damage, dust, and other environmental factors that can affect its sound and playability.
If possible, store your Telecaster in a hard case or gig bag. This will provide protection against impacts, scratches, and other forms of damage. If you don’t have a case or gig bag, you can also store the guitar in a climate-controlled room, away from direct sunlight and extreme temperatures.
Looking to keep your Telecaster in top shape for playing? Check out our articles on mastering string skipping exercises, mastering hybrid picking techniques for country guitarists, essential country guitar effects pedals, why pedal order matters, and advanced string bending techniques for country solos for more guitar-related tips and tricks!
Conclusion
Maintaining your Telecaster guitar is an important part of being a guitarist. By following the tips and tricks outlined in this blog post, you can keep your Telecaster sounding and playing its best for years to come. From cleaning and adjusting the truss rod to changing the strings and storing the guitar, there are many simple and effective ways to maintain your instrument. So grab your cleaning solution, truss rod wrench, and string winder, and get to work on your Telecaster today!